¶ 📖 User Manual — Helio Optimisation (Slicer → Dashboard)
¶ ℹ️ Introduction
Our dashboard (lfam.helioadditive.com) was originally built for optimising pellet/large-format prints, so it can feel a bit complex for FDM use.
The good news is we will be rolling out a direct integration into Bambu Studio soon, which will make the workflow for FDM users much simpler and more streamlined.
In the meantime, following the tips in this manual should help you get reliable results from the dashboard.
We will cover how to :
- prep in your slicer
- upload G-codes to the Dashboard
- configure Helio’s optimiser (with the why)
- and review & download results.
¶ 🖥️ Slicer Guidance (do this before exporting your gcode)
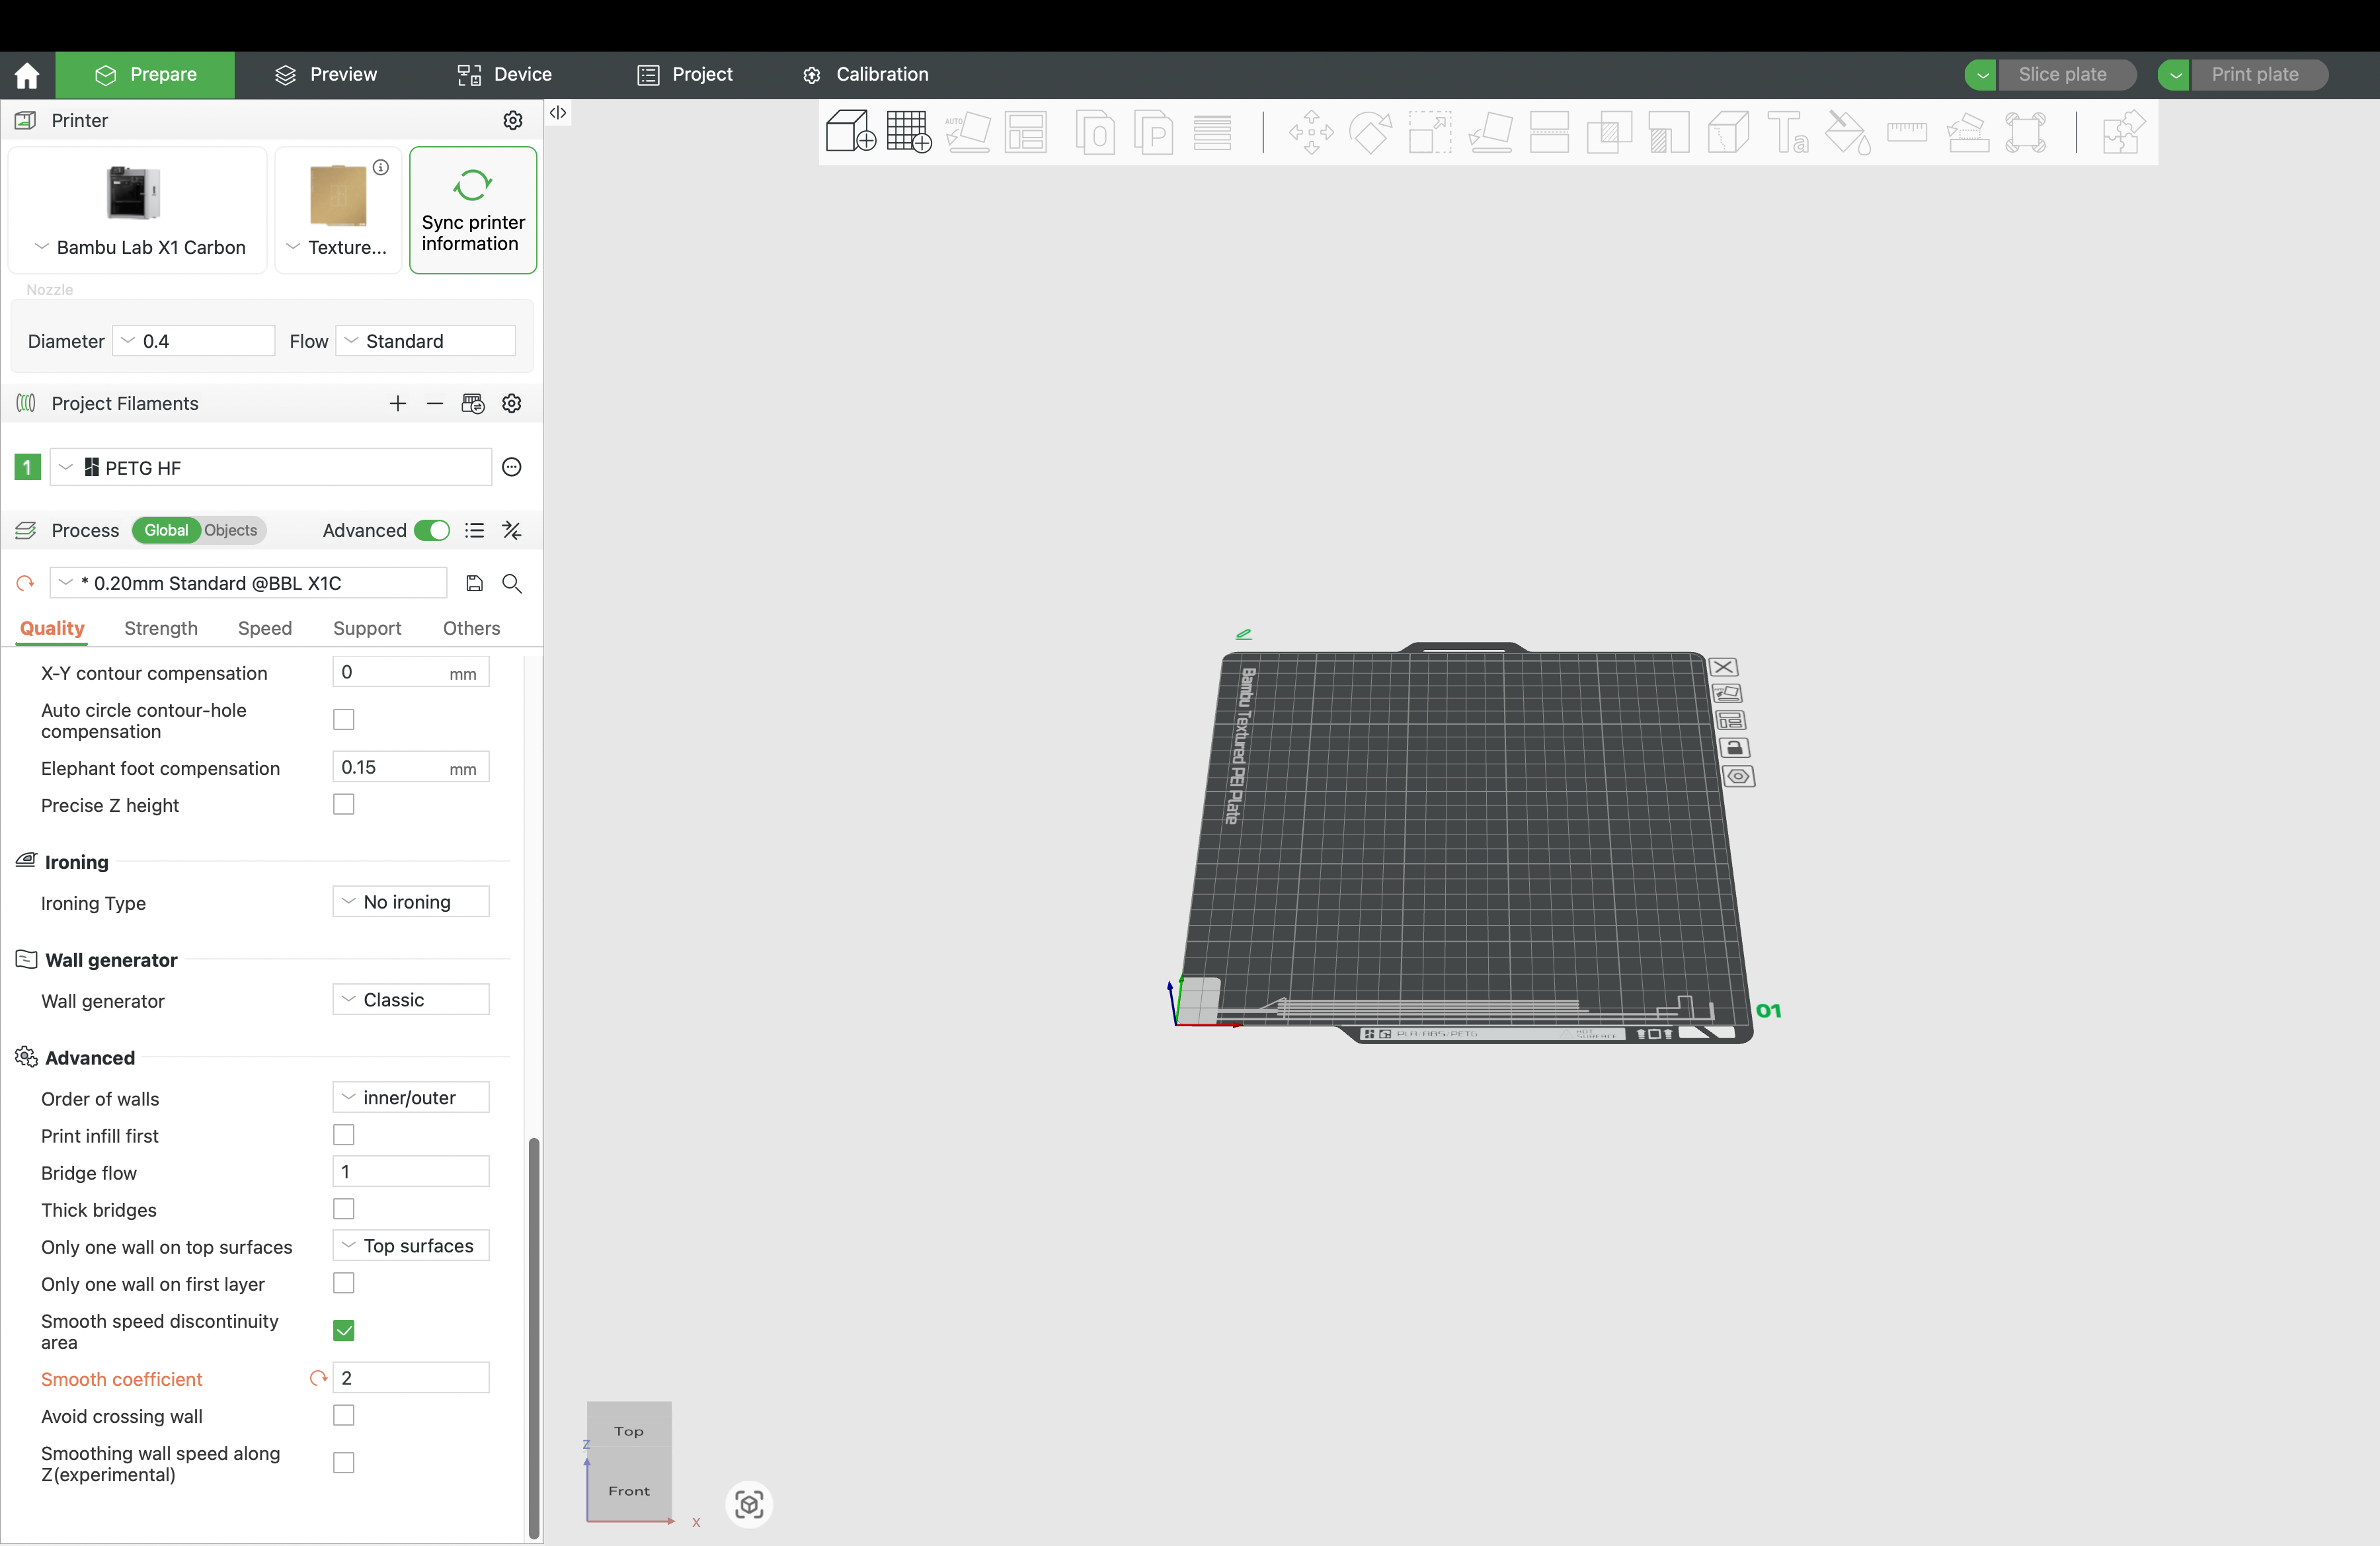
1. Set Smooth Coefficient = 2
(Quality → Advanced → Smooth coefficient)
A low value makes speed changes smoother when Helio increases speeds.
Why: Helio often raises speeds to shorten layer time and keep layers warm. Smoother transitions reduce jerk/accel spikes and ringing, and give the optimiser more headroom to vary speed without artefacts.

2. Leave bridges & overhangs at defaults
Helio does not retune these. Keep the slicer defaults or your settings that are already known to work well.
Why: Bridges/overhangs are edge cases where pushing speed can collapse features. By leaving proven settings untouched, Helio can safely optimise global timing without risking these sensitive regions.
3. Slice → Export G-code
¶ 🧪 Material-Specific Guidance
Low-Tg (PLA, PETG)
1. Filament → Cooling → Pre-start fan time = 2 s
Ensures the fan is spinning before delicate regions.
Why: Helio may increase speed, reducing dwell time. Pre-spin avoids the fan lagging behind requested RPM, which could otherwise soften small features or round sharp corners.
2. Keep all other defaults (e.g. fan profile).
Why: Your slicer profile is already tuned to prevent PLA/PETG deforming on small features. Helio focuses on timing; it won’t change fan curves.
3. Slice → export G-code.


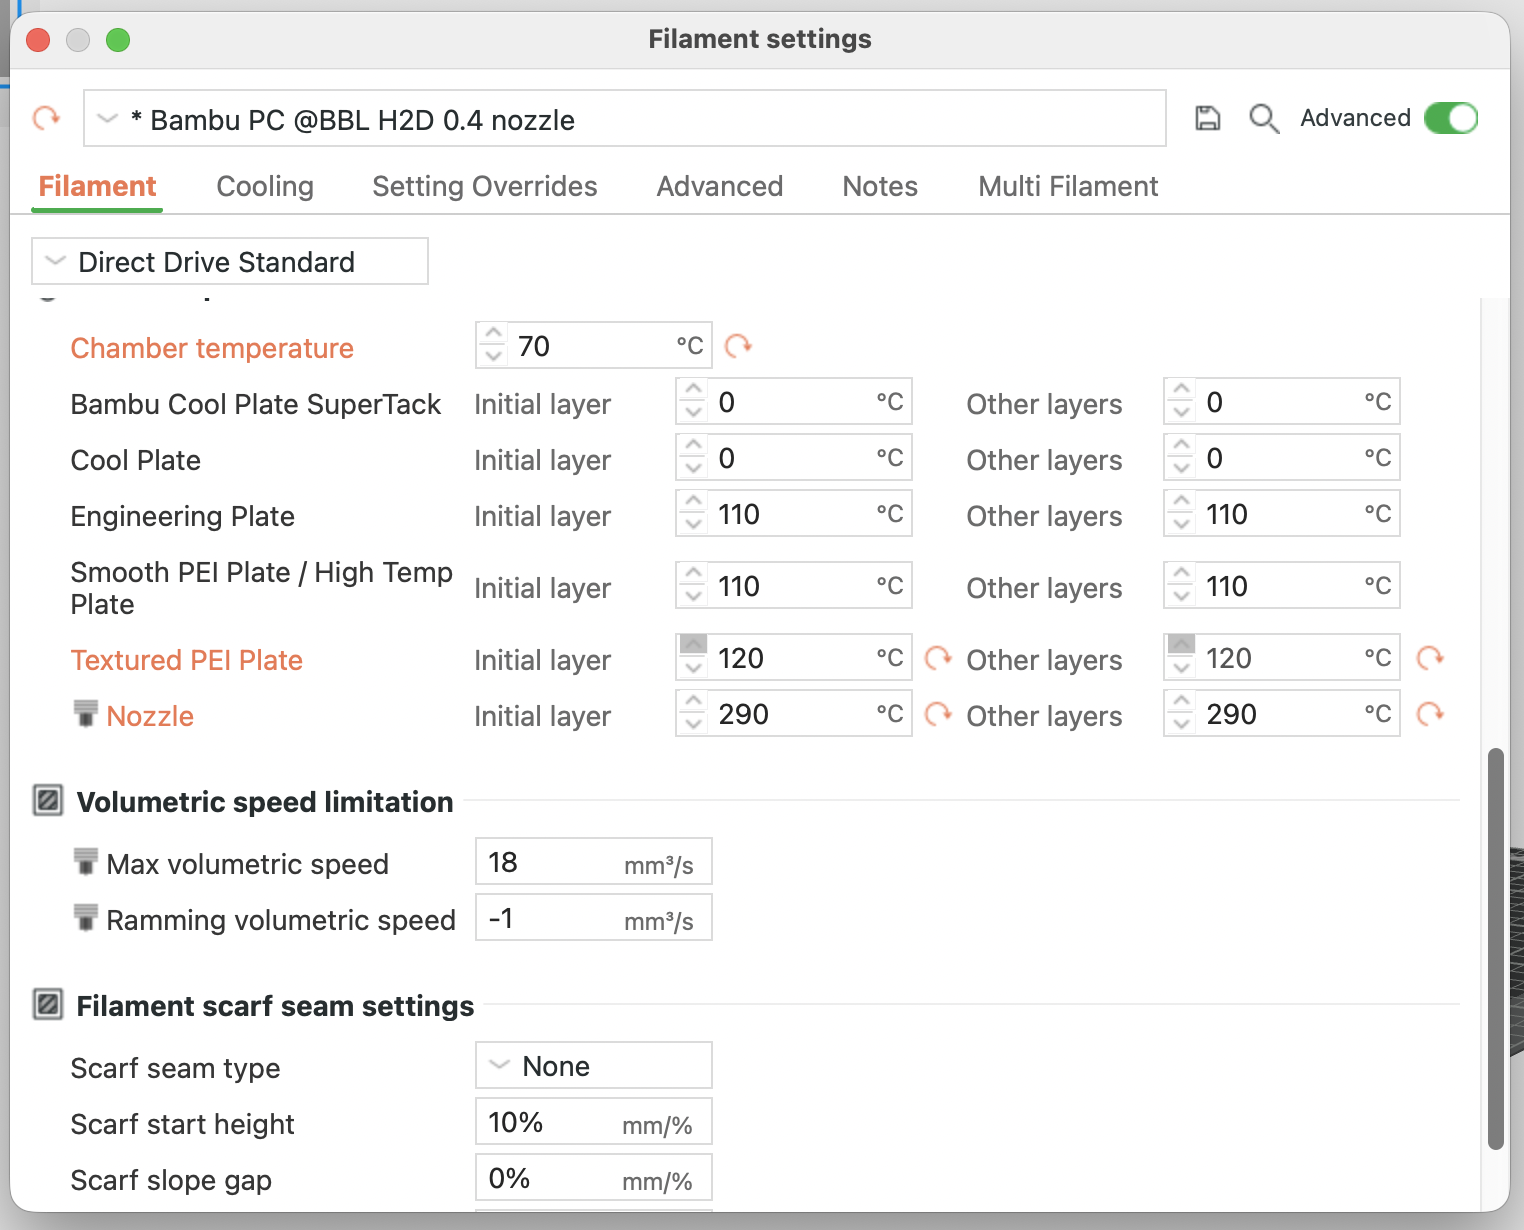
High-Tg (PC, ABS/ASA, PA)
1. Bed temp = max recommended.
2. Chamber temp = max (if supported).
3. Nozzle temp = top of recommended range (or per temp tower).
Why: A warmer baseline widens the bonding window and reduces thermal gradients → less residual stress/warping. Helio manages speed/layer time; you set the thermal environment.
4. Slice → export G-code.
¶ 📤 G-code Upload (Dashboard)
|
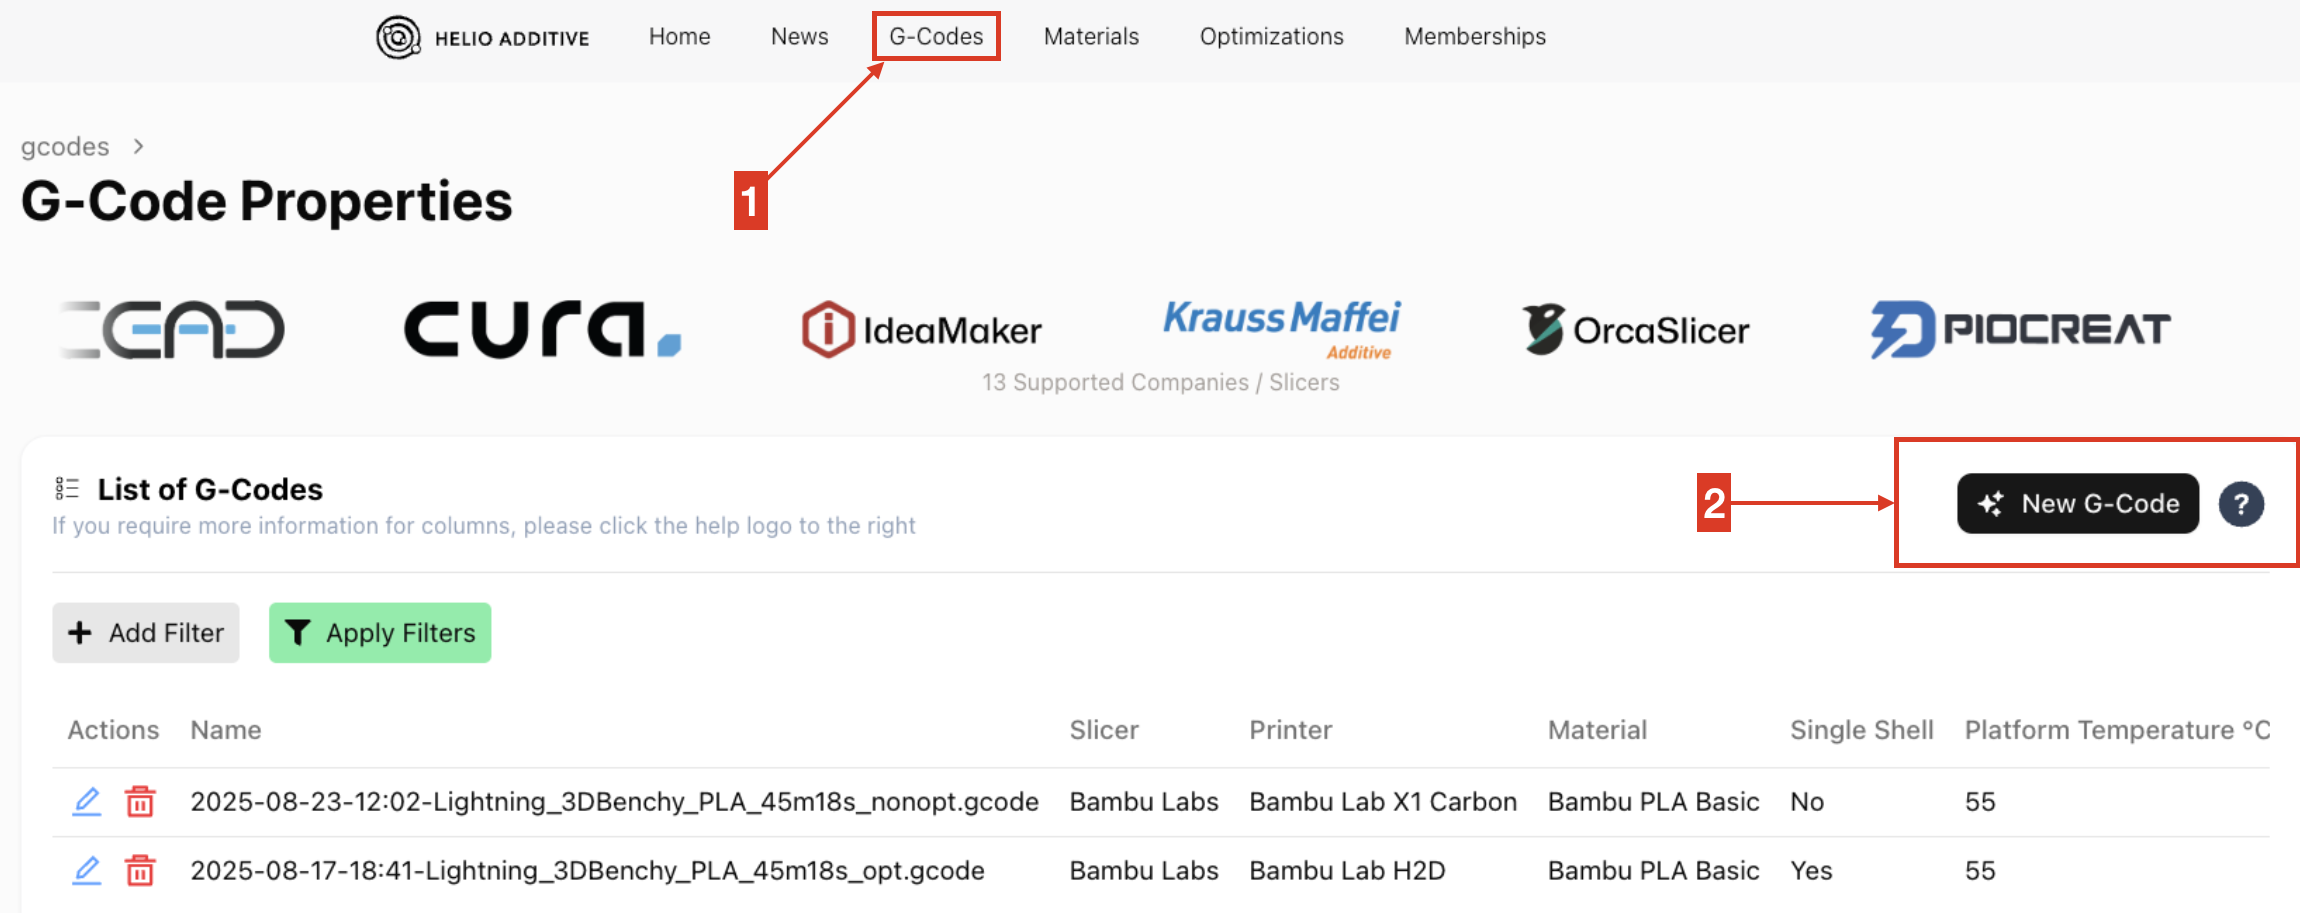
|
No need to touch anything else – all other parameters are read from the G-code. |
|
¶ ⚙️ New Optimisation (Dashboard Settings)
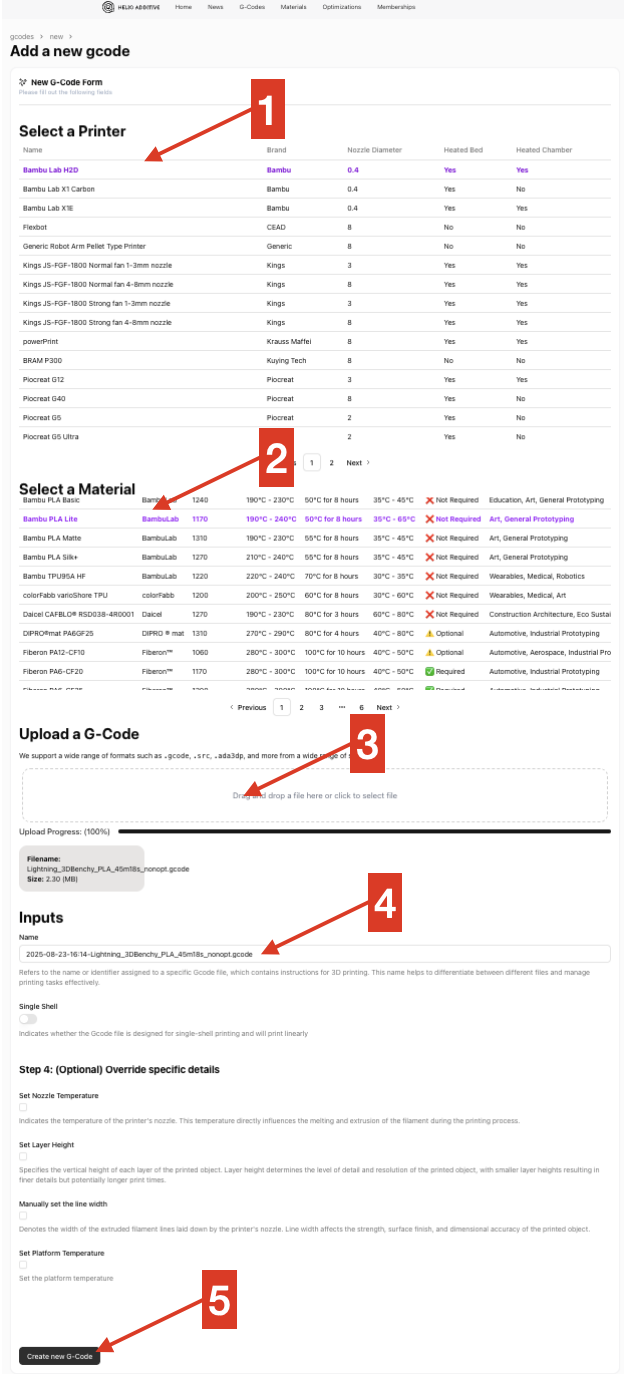
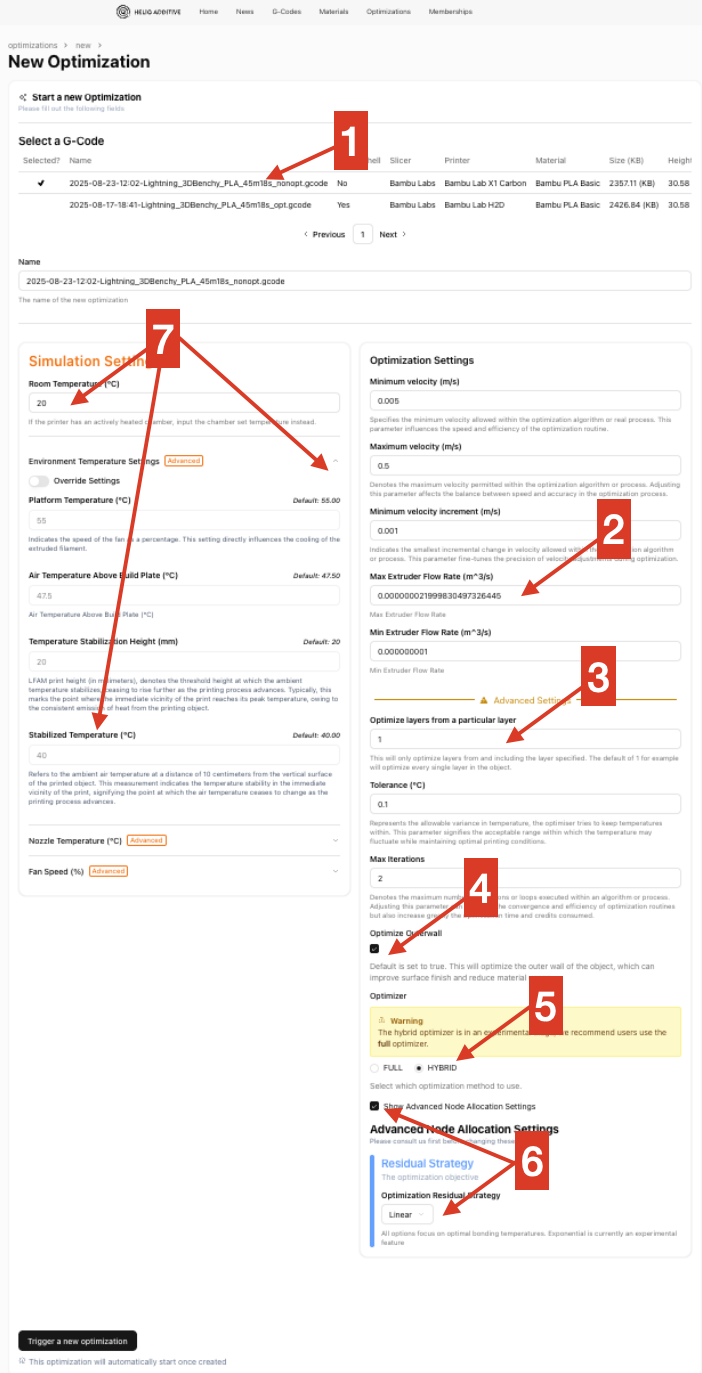
¶ 1. Select a G-CodeChoose the file you want to optimise. Typically, select your freshly exported and uploaded G-Code. ¶ 2. IMPORTANT: Set Max Extruder Flow (m³/s)This is the hard ceiling for how fast Helio is allowed to push filament.
¶ 🔧 How to find your real max flow rate
¶ 3. Optimise from Layer 2Start optimisation from the second layer. Why: Ths ensures Layer 1 is left untouched to give predictable bed adhesion. ¶ 4. Outer Wall OptimisationDecide if Helio should optimise the outer wall:
¶ 5. IMPORTANT: Optimiser = HybridChoose the Hybrid Optimiser (recommended for FDM/FFF).
⚠️ For desktop filament printers, always set Hybrid unless you have a special reason to use Full. ¶ 6. IMPORTANT: Residual Strategy = LinearBalances “too hot” vs “too cold” penalties evenly. ¶ 7. Check / Override Environment TempsHelio reads chamber/bed temps automatically.
Why: Correct temps = better thermal prediction and bonding. ¶ 8. Start optimisation by clicking New Optimisation. |
|
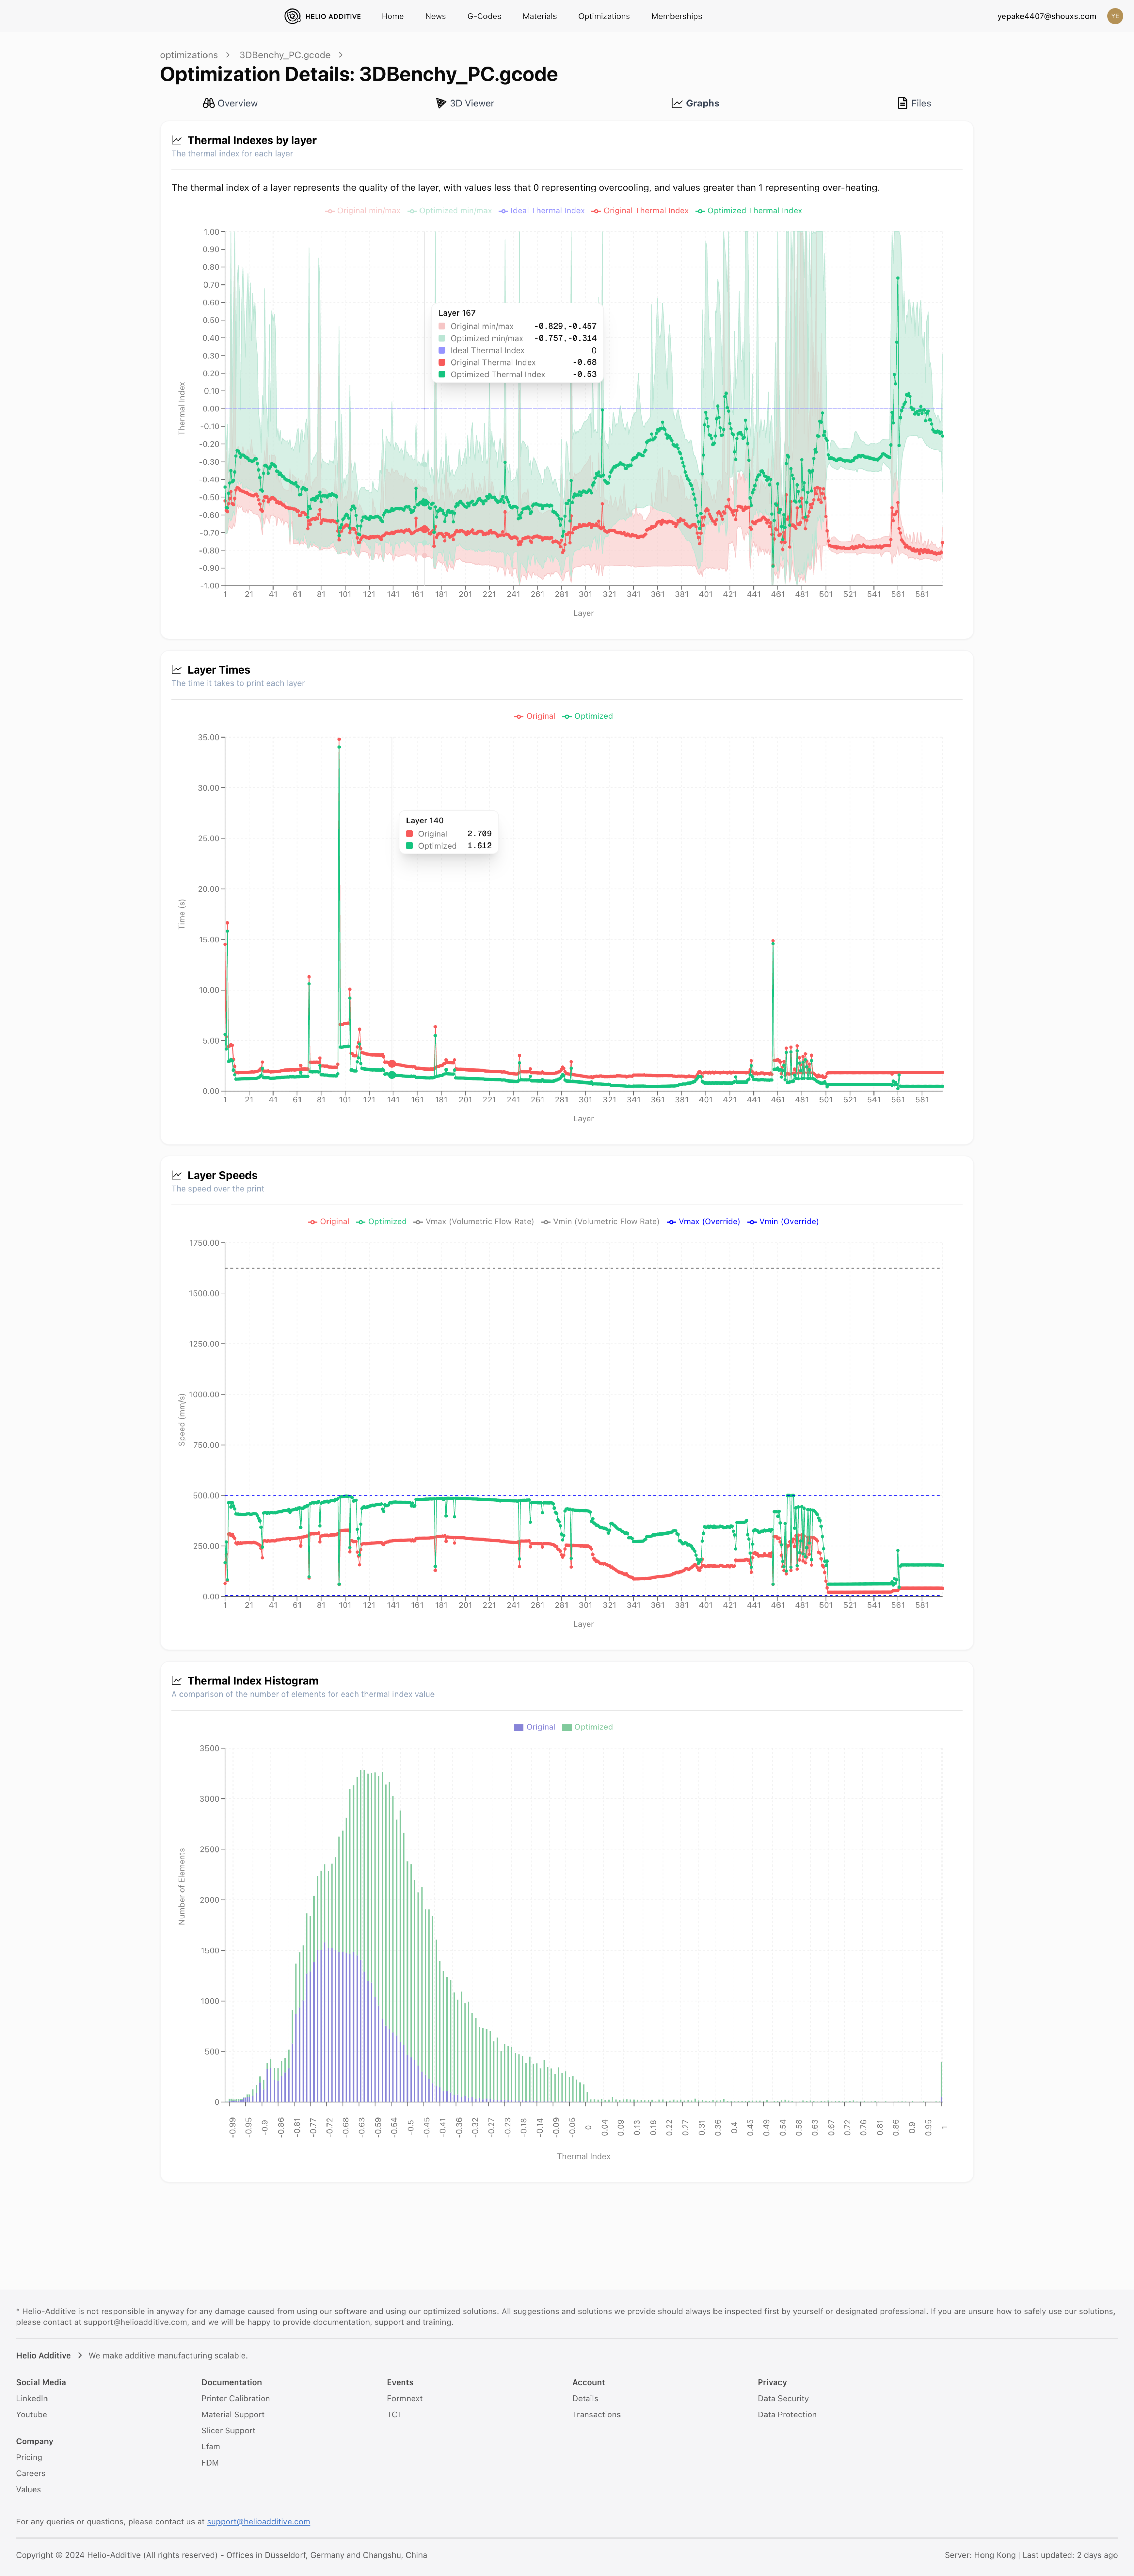
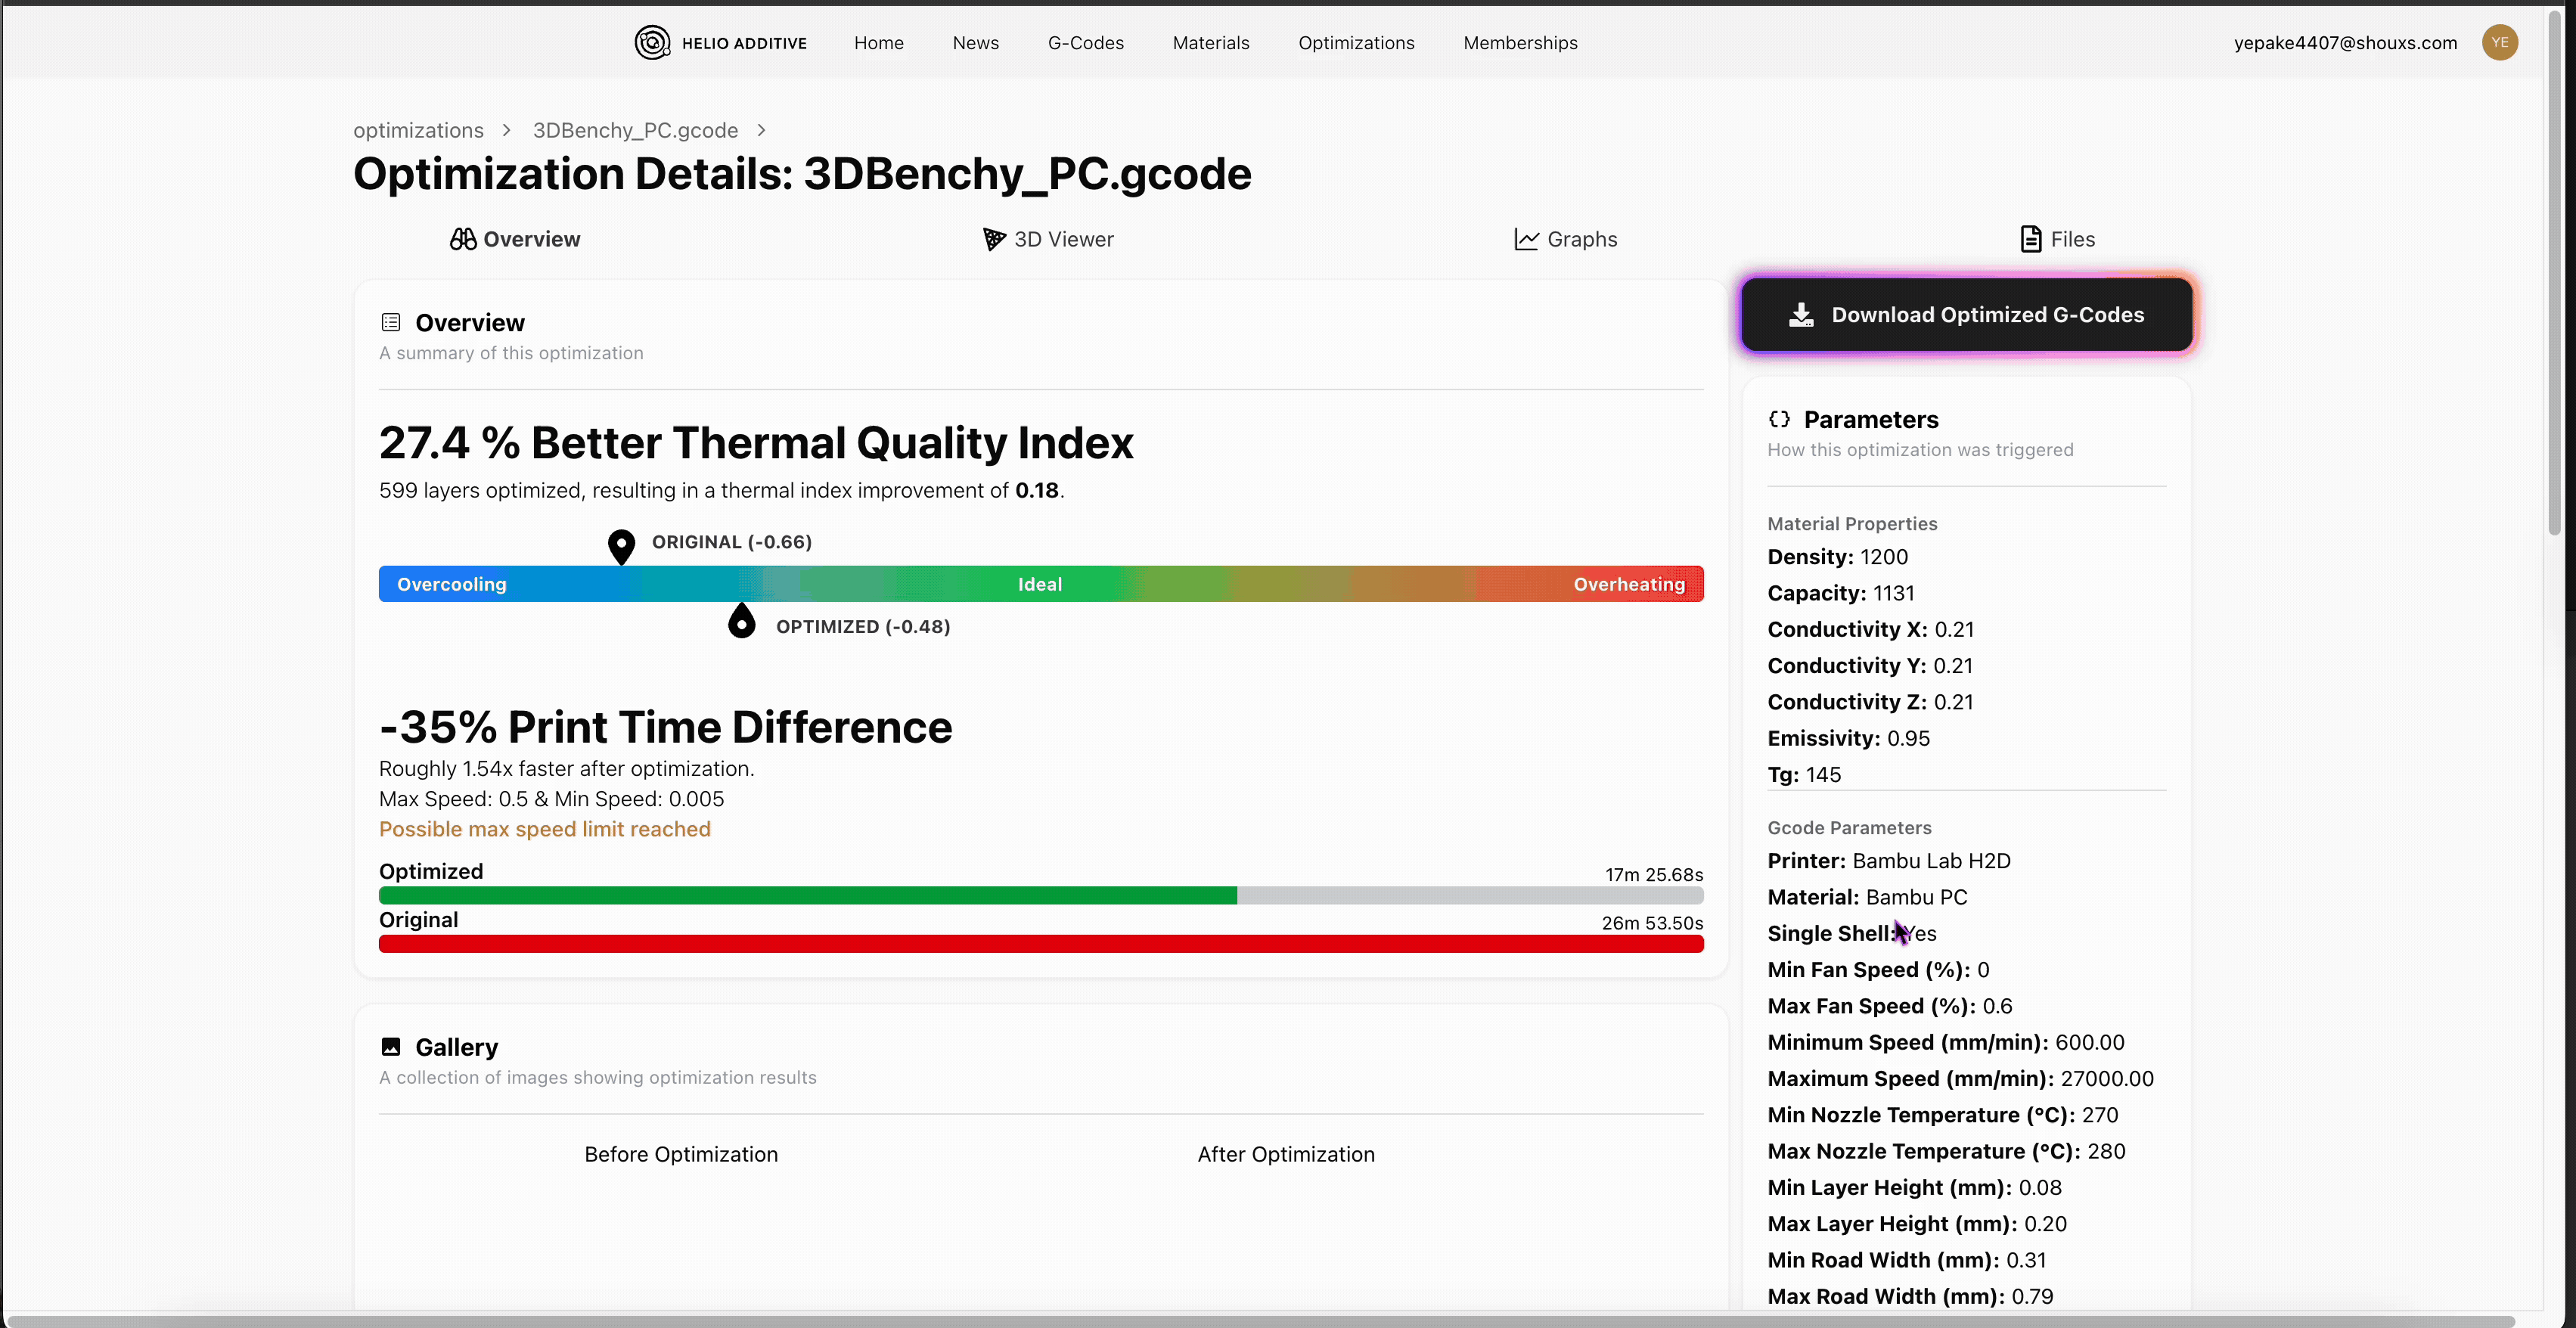
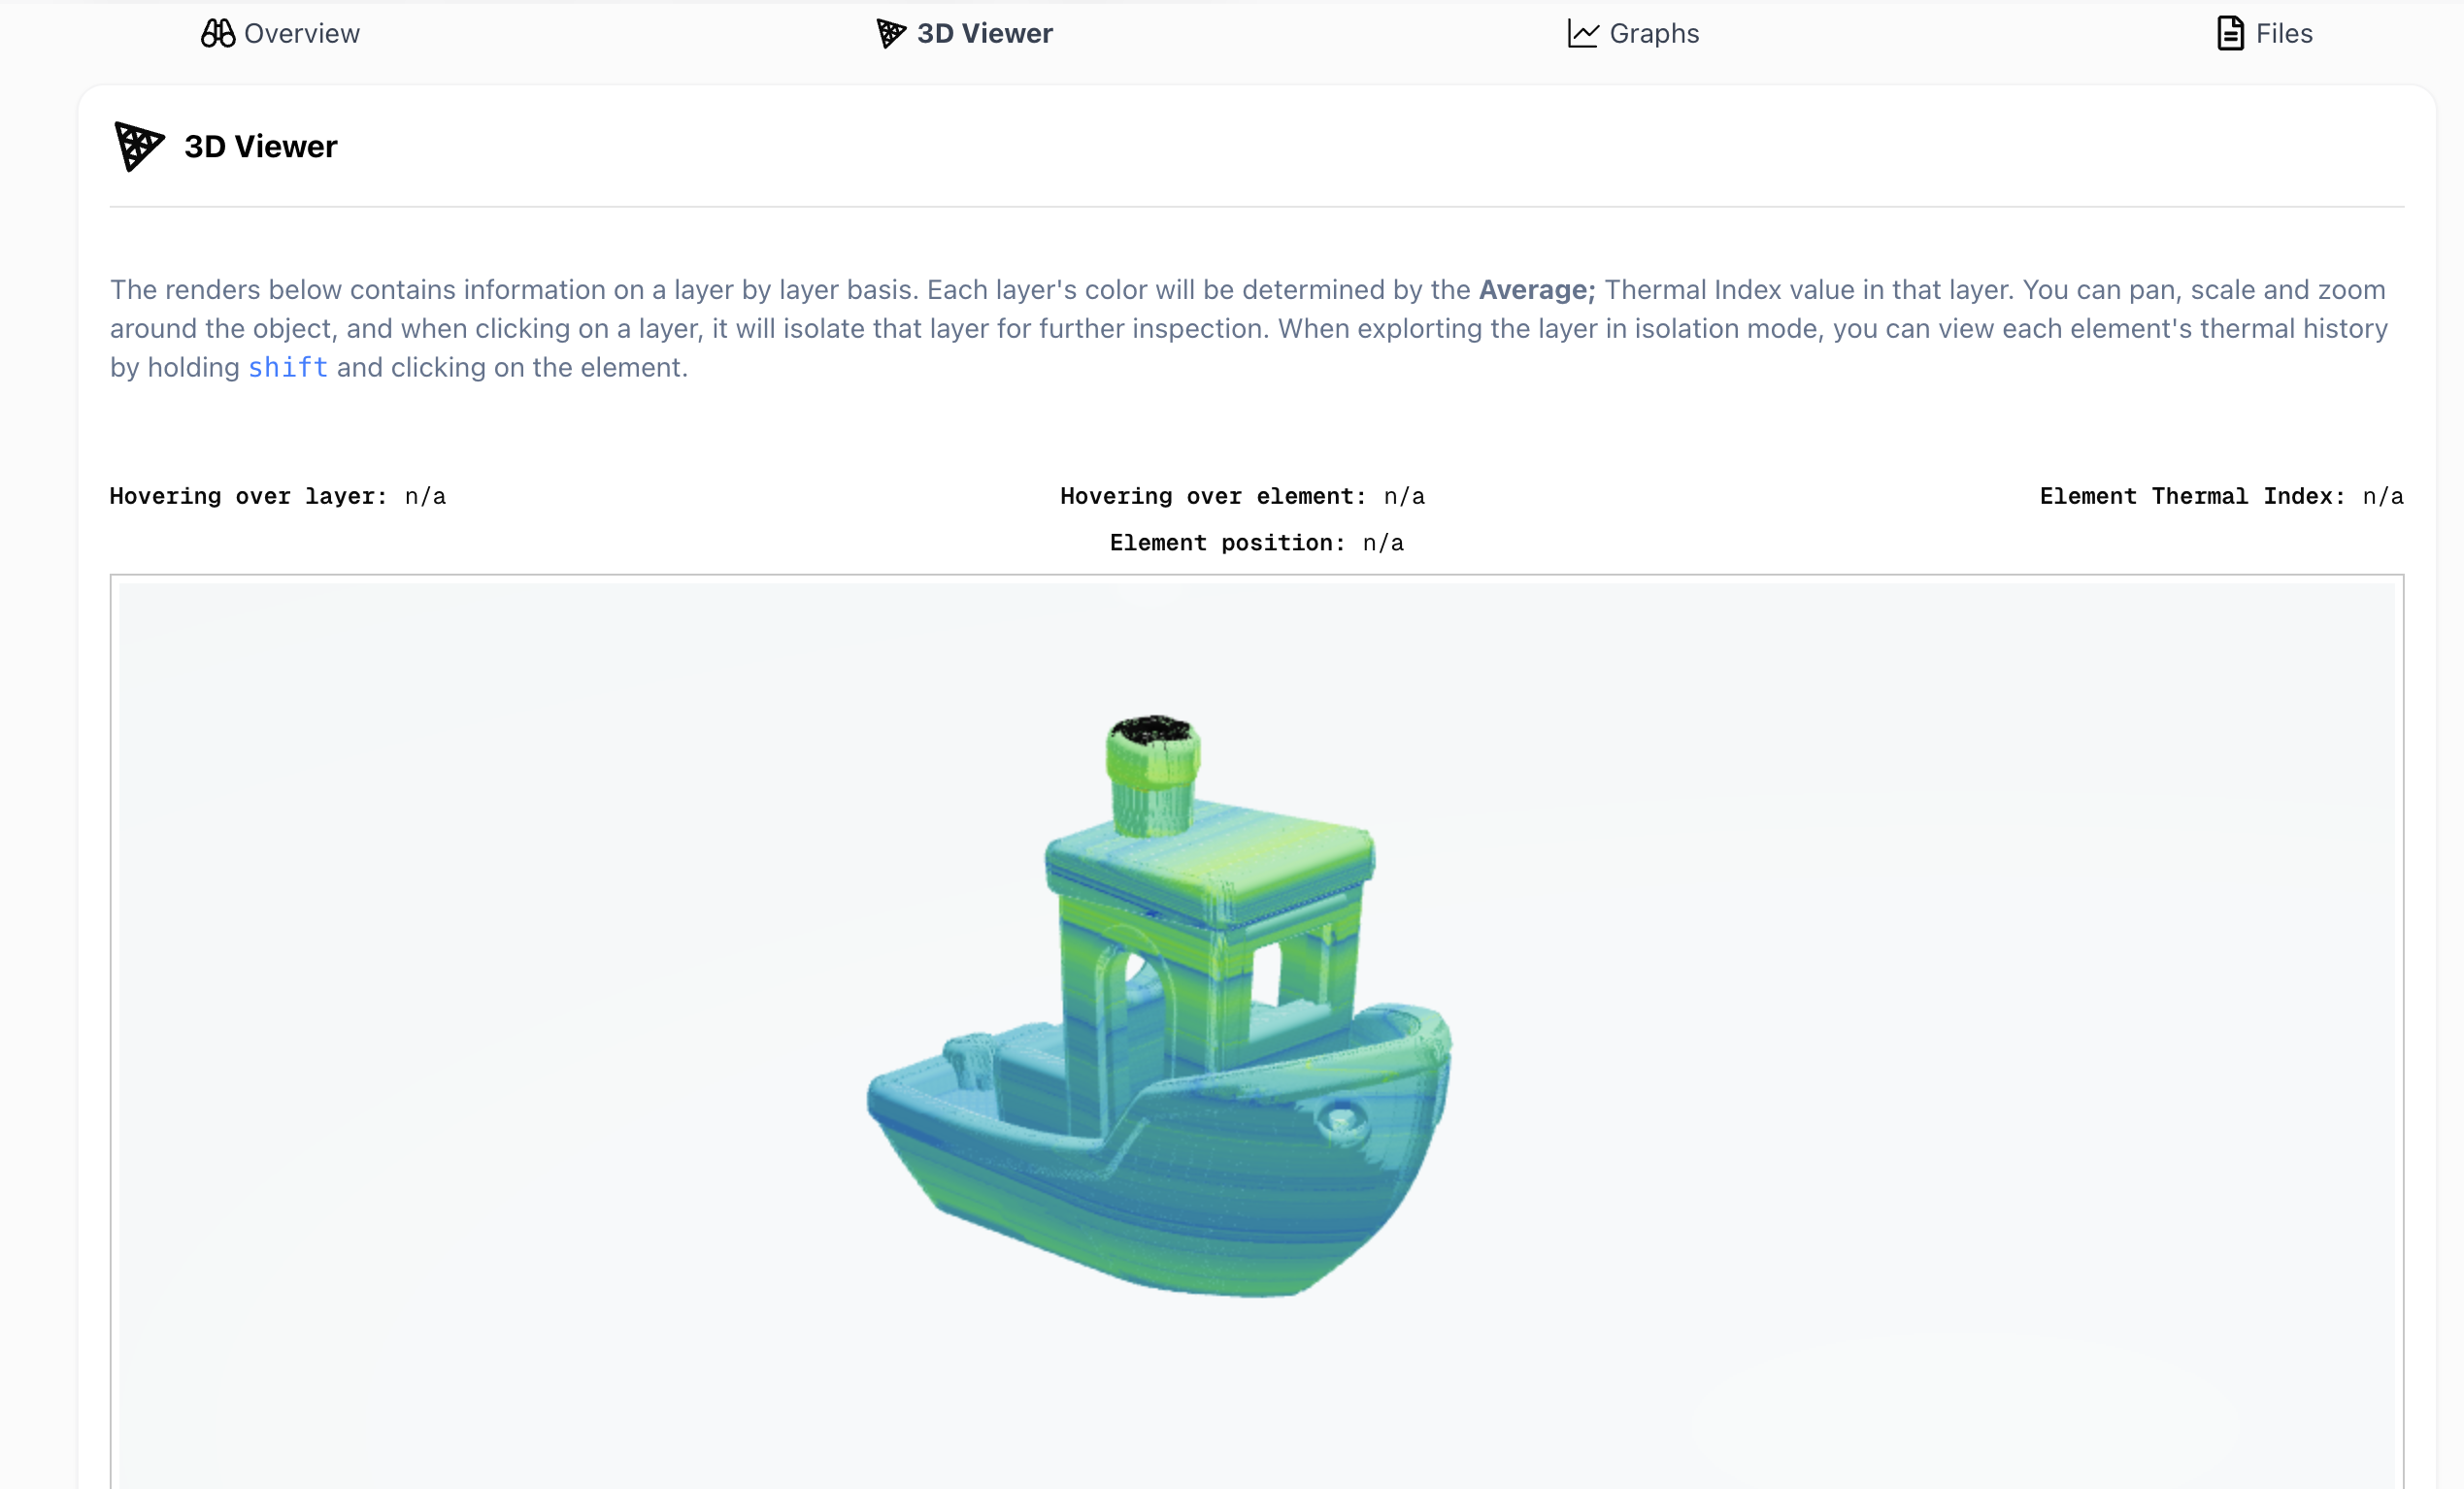
¶ 🔎 Reviewing Results & Download
For deeper analysis, open the 3D Viewer and the Graphs tab. |
|

¶ 🚀 Optimisation Settings TL;DR
Follow slicer prep guidance and G-code upload tips before optimizing.
Key takeaways:
¶ Check temperature settings (Simulation settings → Environment temperature settings)
- No chamber temperature control in G-code? Use Helio’s predicted stabilised temperature in the print chamber (based on room and bed temps in G-code), or adjust room temperature to reach the desired stabilised temperature.
- Wrong values/custom setup? Override here.
¶ Callibrate flow (Optimization settings → Max extruder flow rate)
- Calibrate your filament’s max flow rate in mm³/s.
- Convert to m³/s before entering (e.g.
30 mm³/s = 0.000000030 m³/s). - Ensures optimised G-code does not print slower than necessary or faster than printer capability
¶ Optimise from Layer 2 (Optimization settings → Advanced settings)
- Optimisation begins from layer 2 leaving the first layer unchanged to maintain bed adhesion.
¶ Set outerwall optimisation preference (Optimization settings → Advanced settings)
- Off: Maintains slicer-tuned outerwall finish
- On: Better bonding but may change finish
¶ Use Hybrid Optimiser (Optimization settings → Advanced settings)
- Recommended for FDM; much faster than Full Optimiser with nearly identical accuracy.
¶ Set Residual Strategy to Linear (Optimisation → Advanced Node Allocation Settings)
- Focuses on achieving the best thermal conditions for reliable layer bonding.
- Exponential is best for LFAM, not FDM