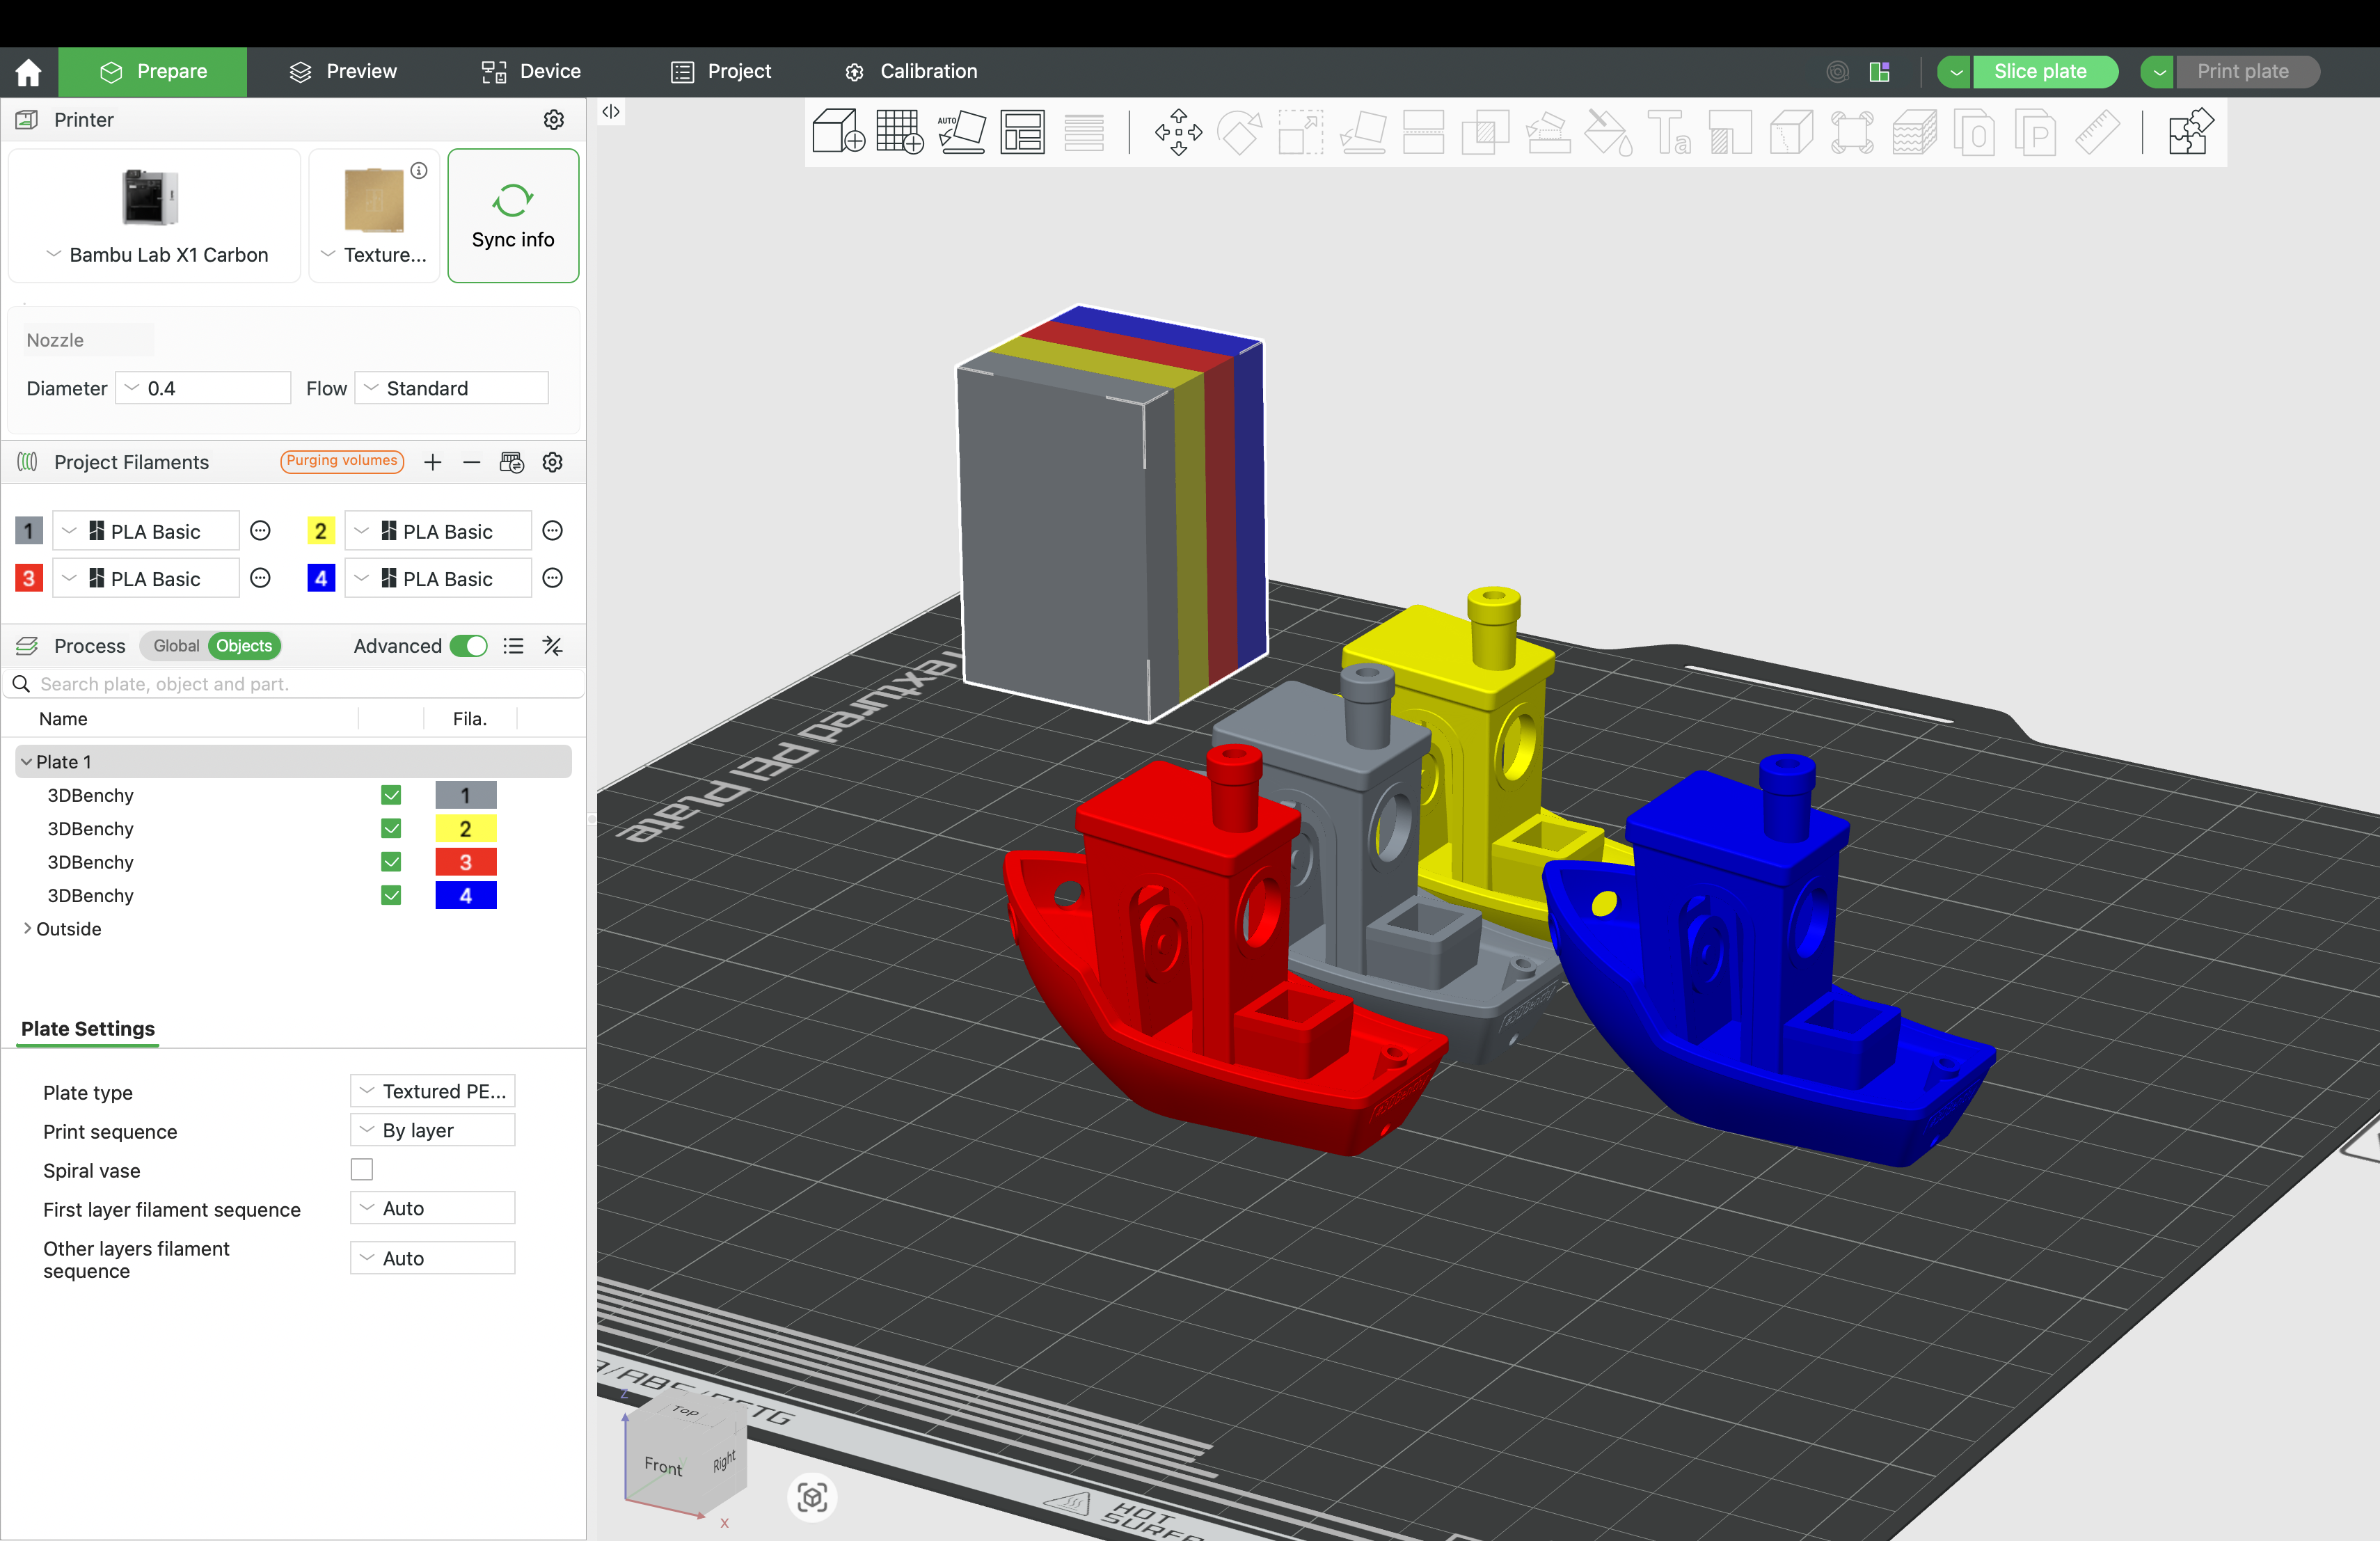
¶ 🎨 Multi-Colour Setup
Helio supports multi-colour prints. The simulation captures the full G-code including tool change timing , so cooling that occurs during filament switches is accounted for in the results.
ℹ️ This feature comes preconfigured when you enable Helio — no extra steps required.
¶ Setup Steps
1. 🖨️ In Bambu Studio Beta (v02.05.01.52 and above), set up your multi-colour print
Ensure you use the same filament type in your multicolour print i.e Bambu PLA Basic Green + Bambu PLA Basic Red
ℹ️ For different colours in different material types, ensure you first enable the multi-material feature.
👉 See the Multi-Material guide for instructions.
2. ⚡ Slice → Enhance
Slice your print then click the Helio icon.
The optimiser automatically adjusts speeds taking int account material changes to keep your print in the optimal bonding window.
💡 Save time on multi-colour prints
Multi-colour printing is inherently complex — the printer switches filaments often, builds a purge tower to flush residual colour, and moves constantly between your part and the tower. To handle this complexity reliably, default slicer profiles are conservative: everything prints slowly to avoid potential issues.The problem is that this caution applies across the board — even to the actual part, where higher speeds would be perfectly safe. Helio identifies exactly where speeds can be increased without compromising quality, so you get the reliability of a conservative profile without paying the full time cost.
See case study for a practical example of realworld applications
ℹ️ 🏗️ Prime Tower
The prime tower is included in the simulation — time spent printing it contributes to overall layer time and affects the thermal history of your part. !Tune prime tower size alongside purge volume for the best balance.
¶ 🔧 Unsupported Material Profiles
Helio now supports running Assess or Enhance with filament profiles not natively in our materials database 🧪:
- Download the latest Bambu Studio Beta:
👉 v02.05.01.52 - Activate Helio → Slice with a generic filament of the same type (e.g., Generic PLA)
- Click the Helio icon → Select the closest supported material from Helio’s list → Click Proceed Anyway
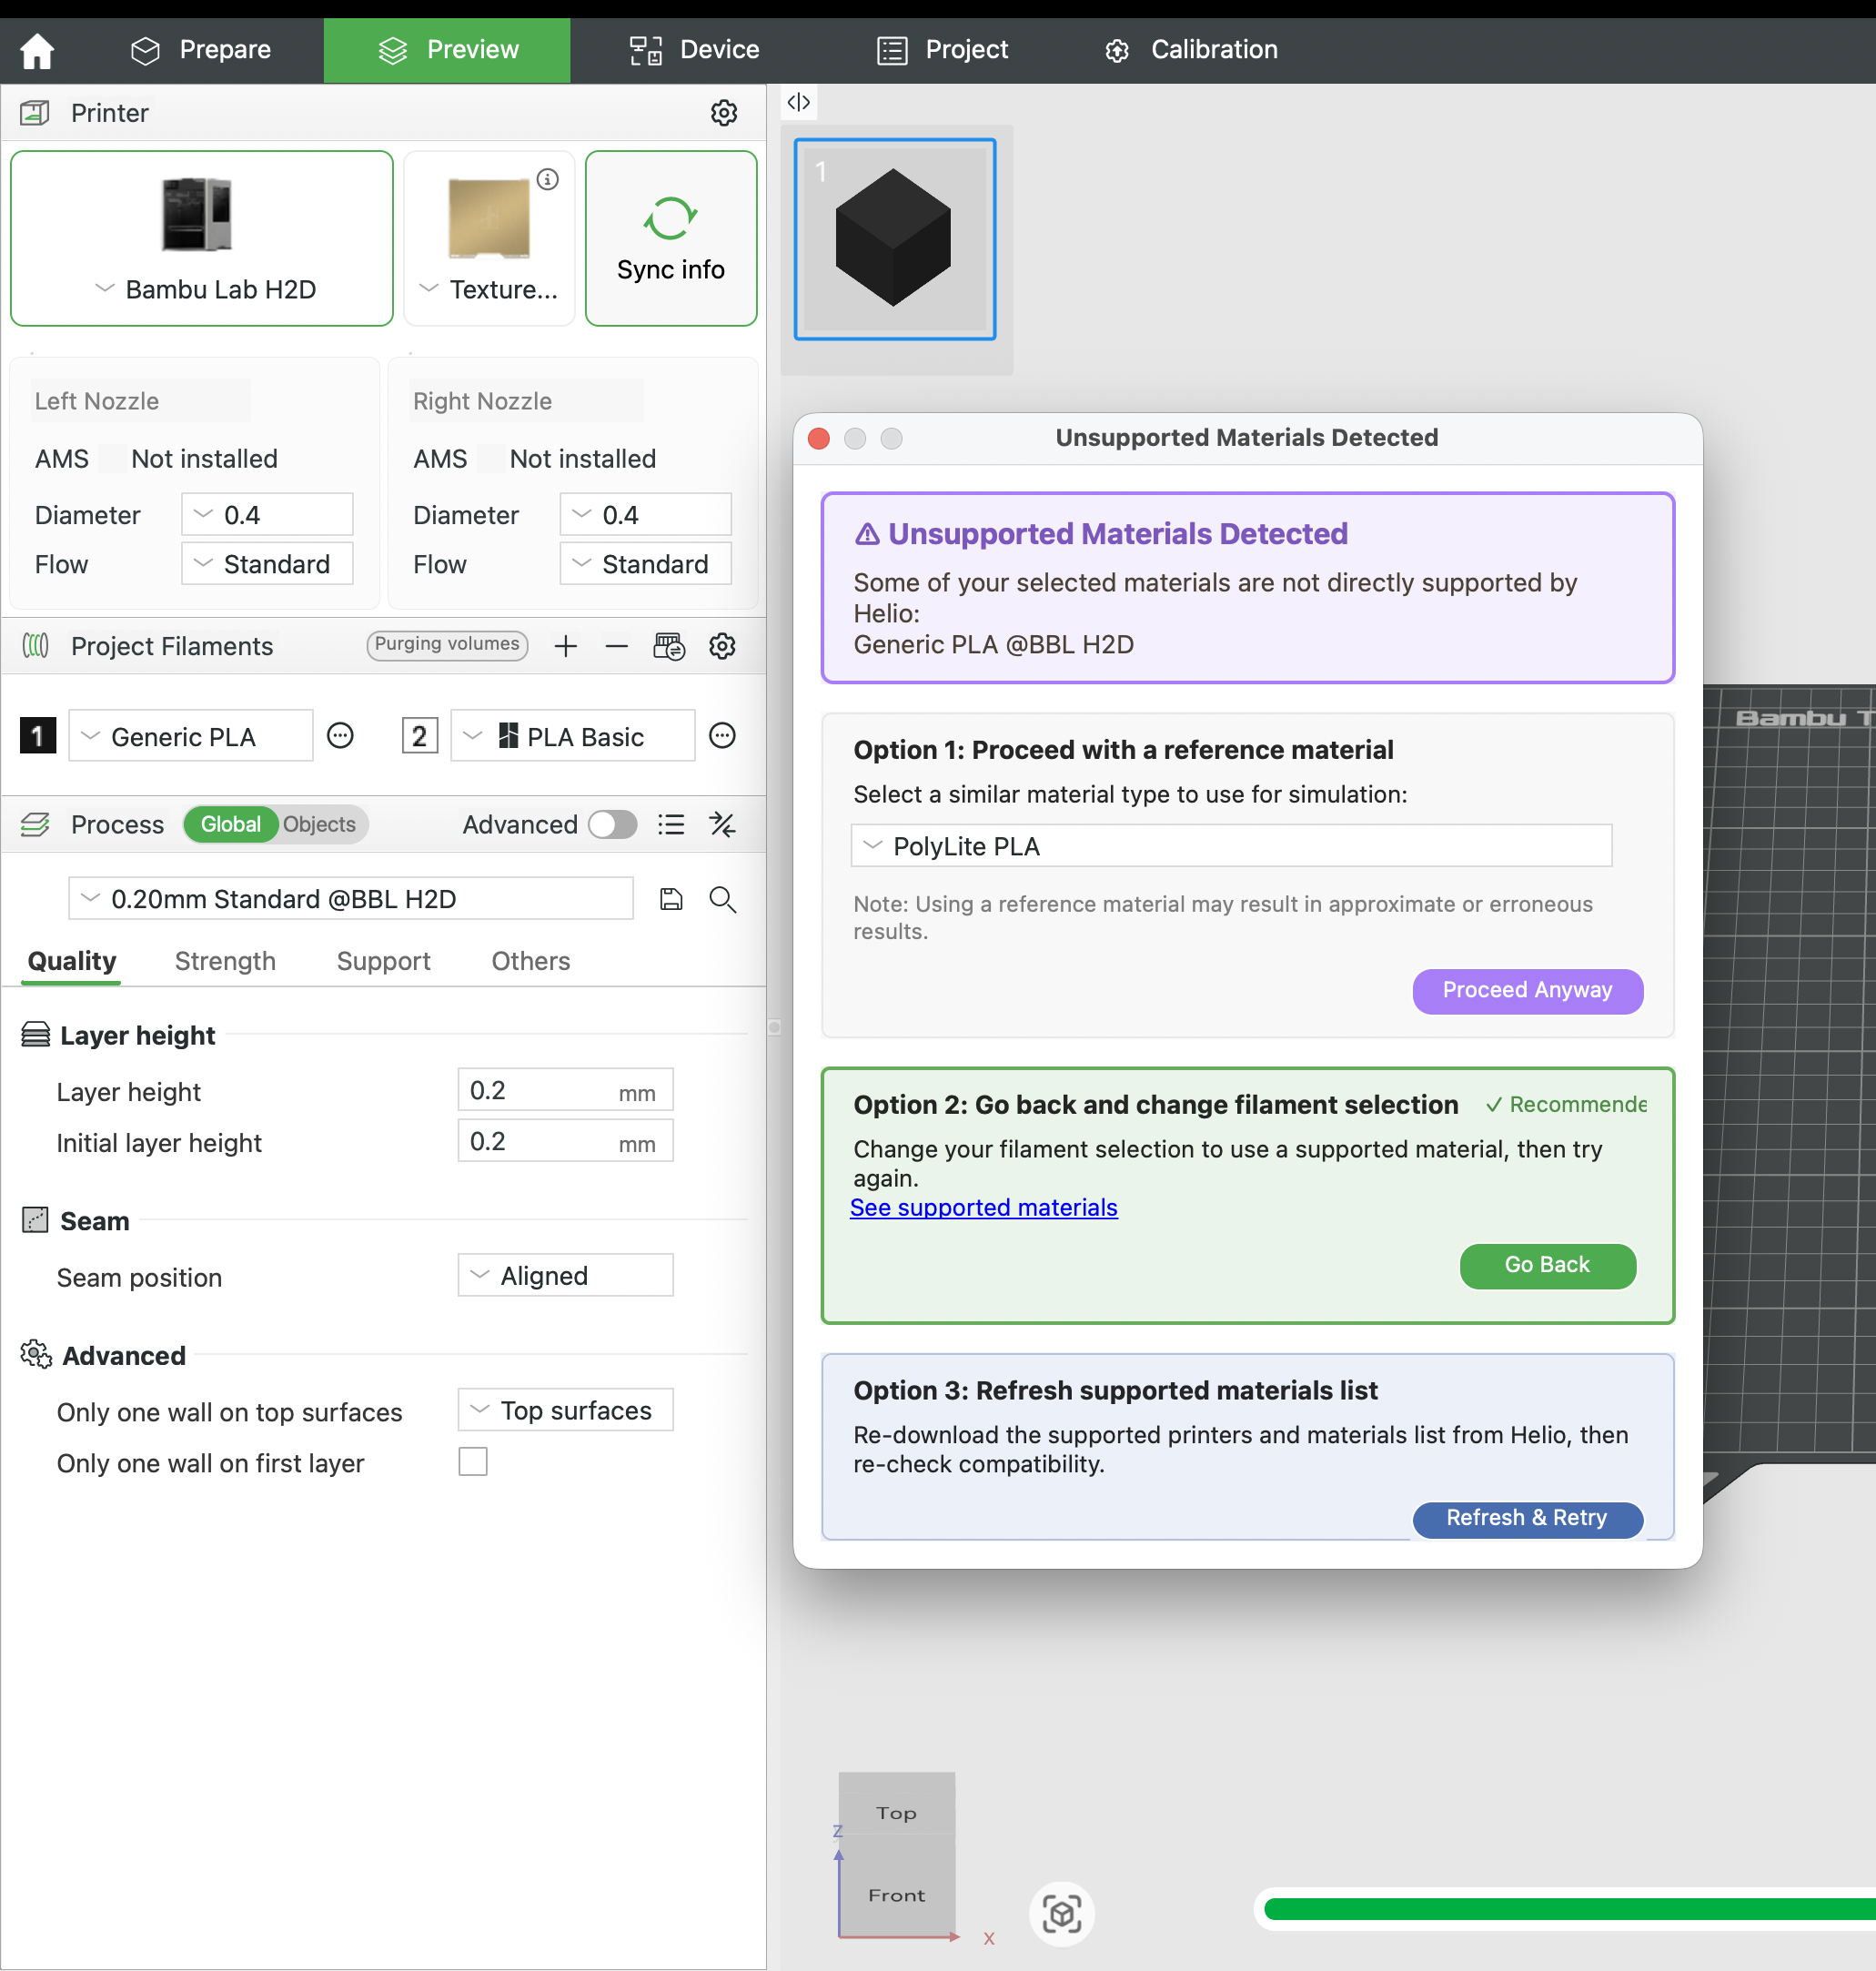
- Run Assess or Enhance as normal