¶ 🔬 Assess — How to Run & Read Your Results
¶ What is Helio Assess?
Assess runs a free Printability Report on your sliced G-code before you commit time and material to a print. In seconds, it simulates the thermal process layer by layer and tells you whether your print will succeed, where the risks are, and what to change if something looks wrong.
Think of it as a checklist between slicing and printing: Slice → Assess → fix the risk → print with confidence.
ℹ️ Assess is completely free to run. No quota, no subscription required.
After running Assess, Helio displays a Verify Print Success summary window alongside the TQI overlay on your model. Here is how to use this feature to get the best results from your prints.
ℹ️ New to Helio? Start with the Quick Start Guide for a step-by-step walkthrough. This page focuses on reading and acting on your Assess results.
¶ ▶️ How to Run Assess
1. Slice your model in Bambu Studio as normal
2. Click the Helio icon in the top toolbar
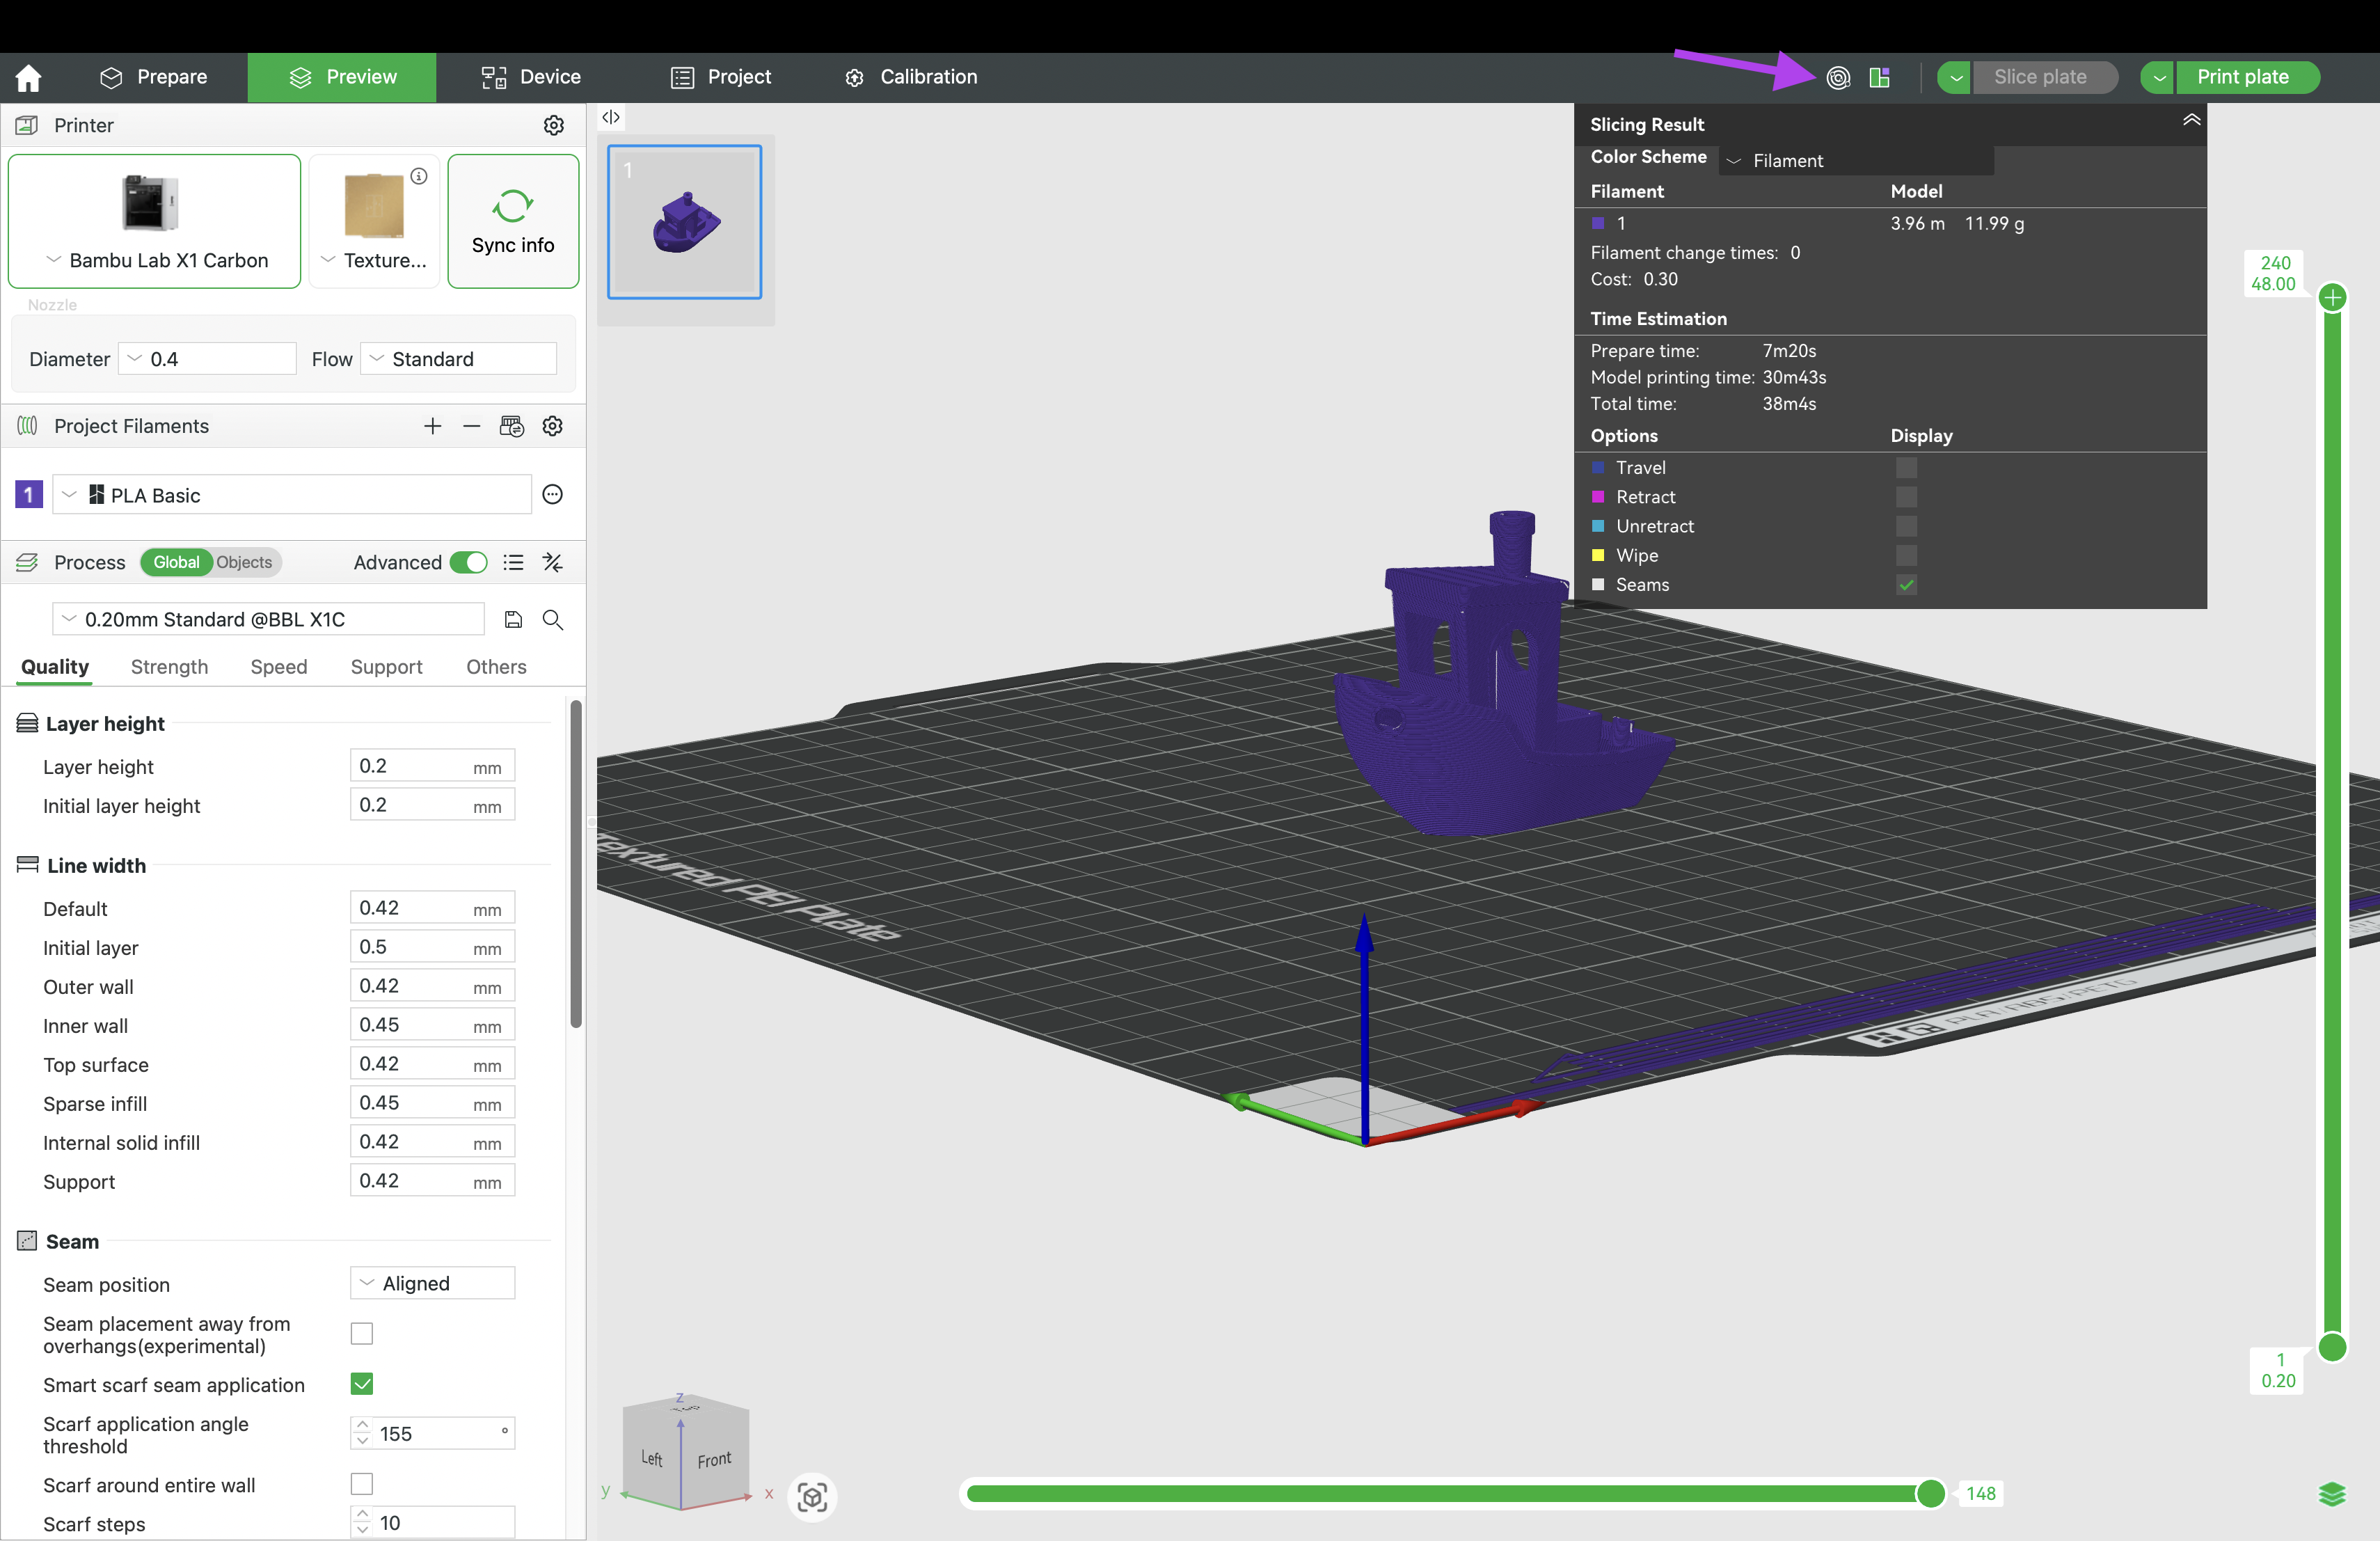
3. Select Assess → Enter your environment or chamber temperature
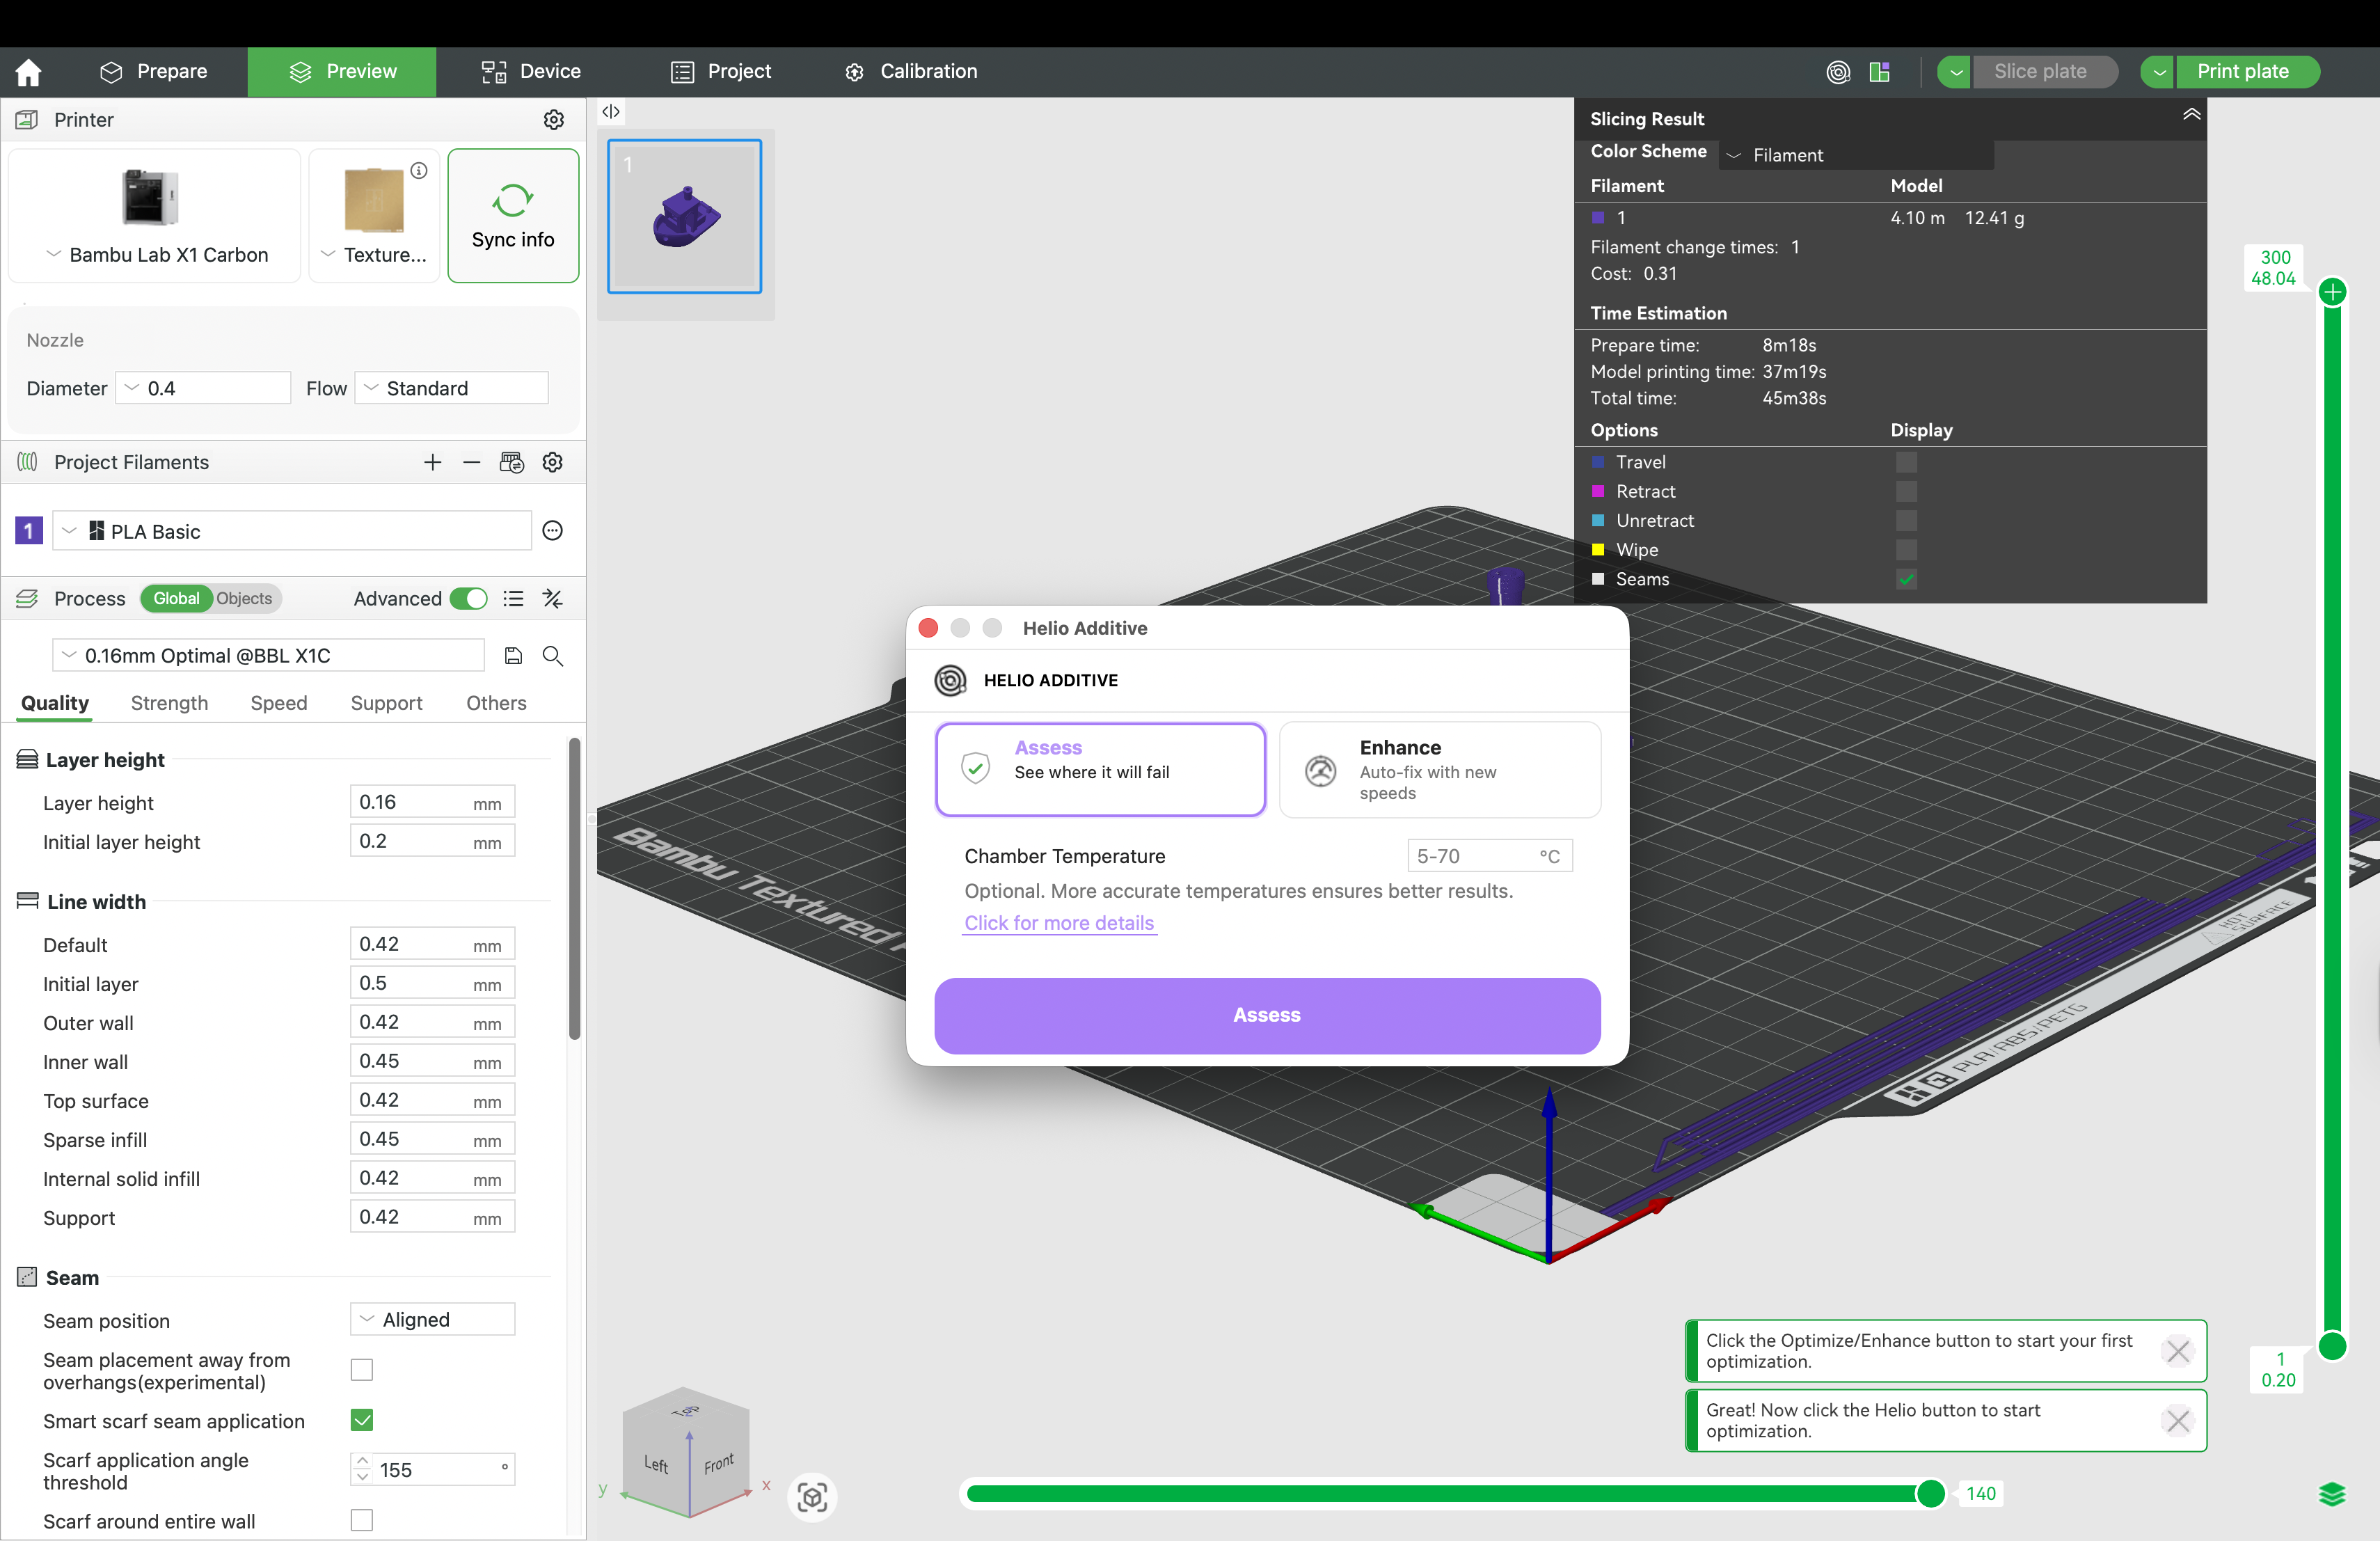
ℹ️ Environment & Chamber Temperature
- For open printers (e.g., A1, P1P), enter the ambient air temperature.
- For the X1C (passively-heated chamber), enter your estimated chamber temperature.
- If left empty, Assess will estimate it based on your bed temperature.
4. Click Assess and wait for the simulation to complete
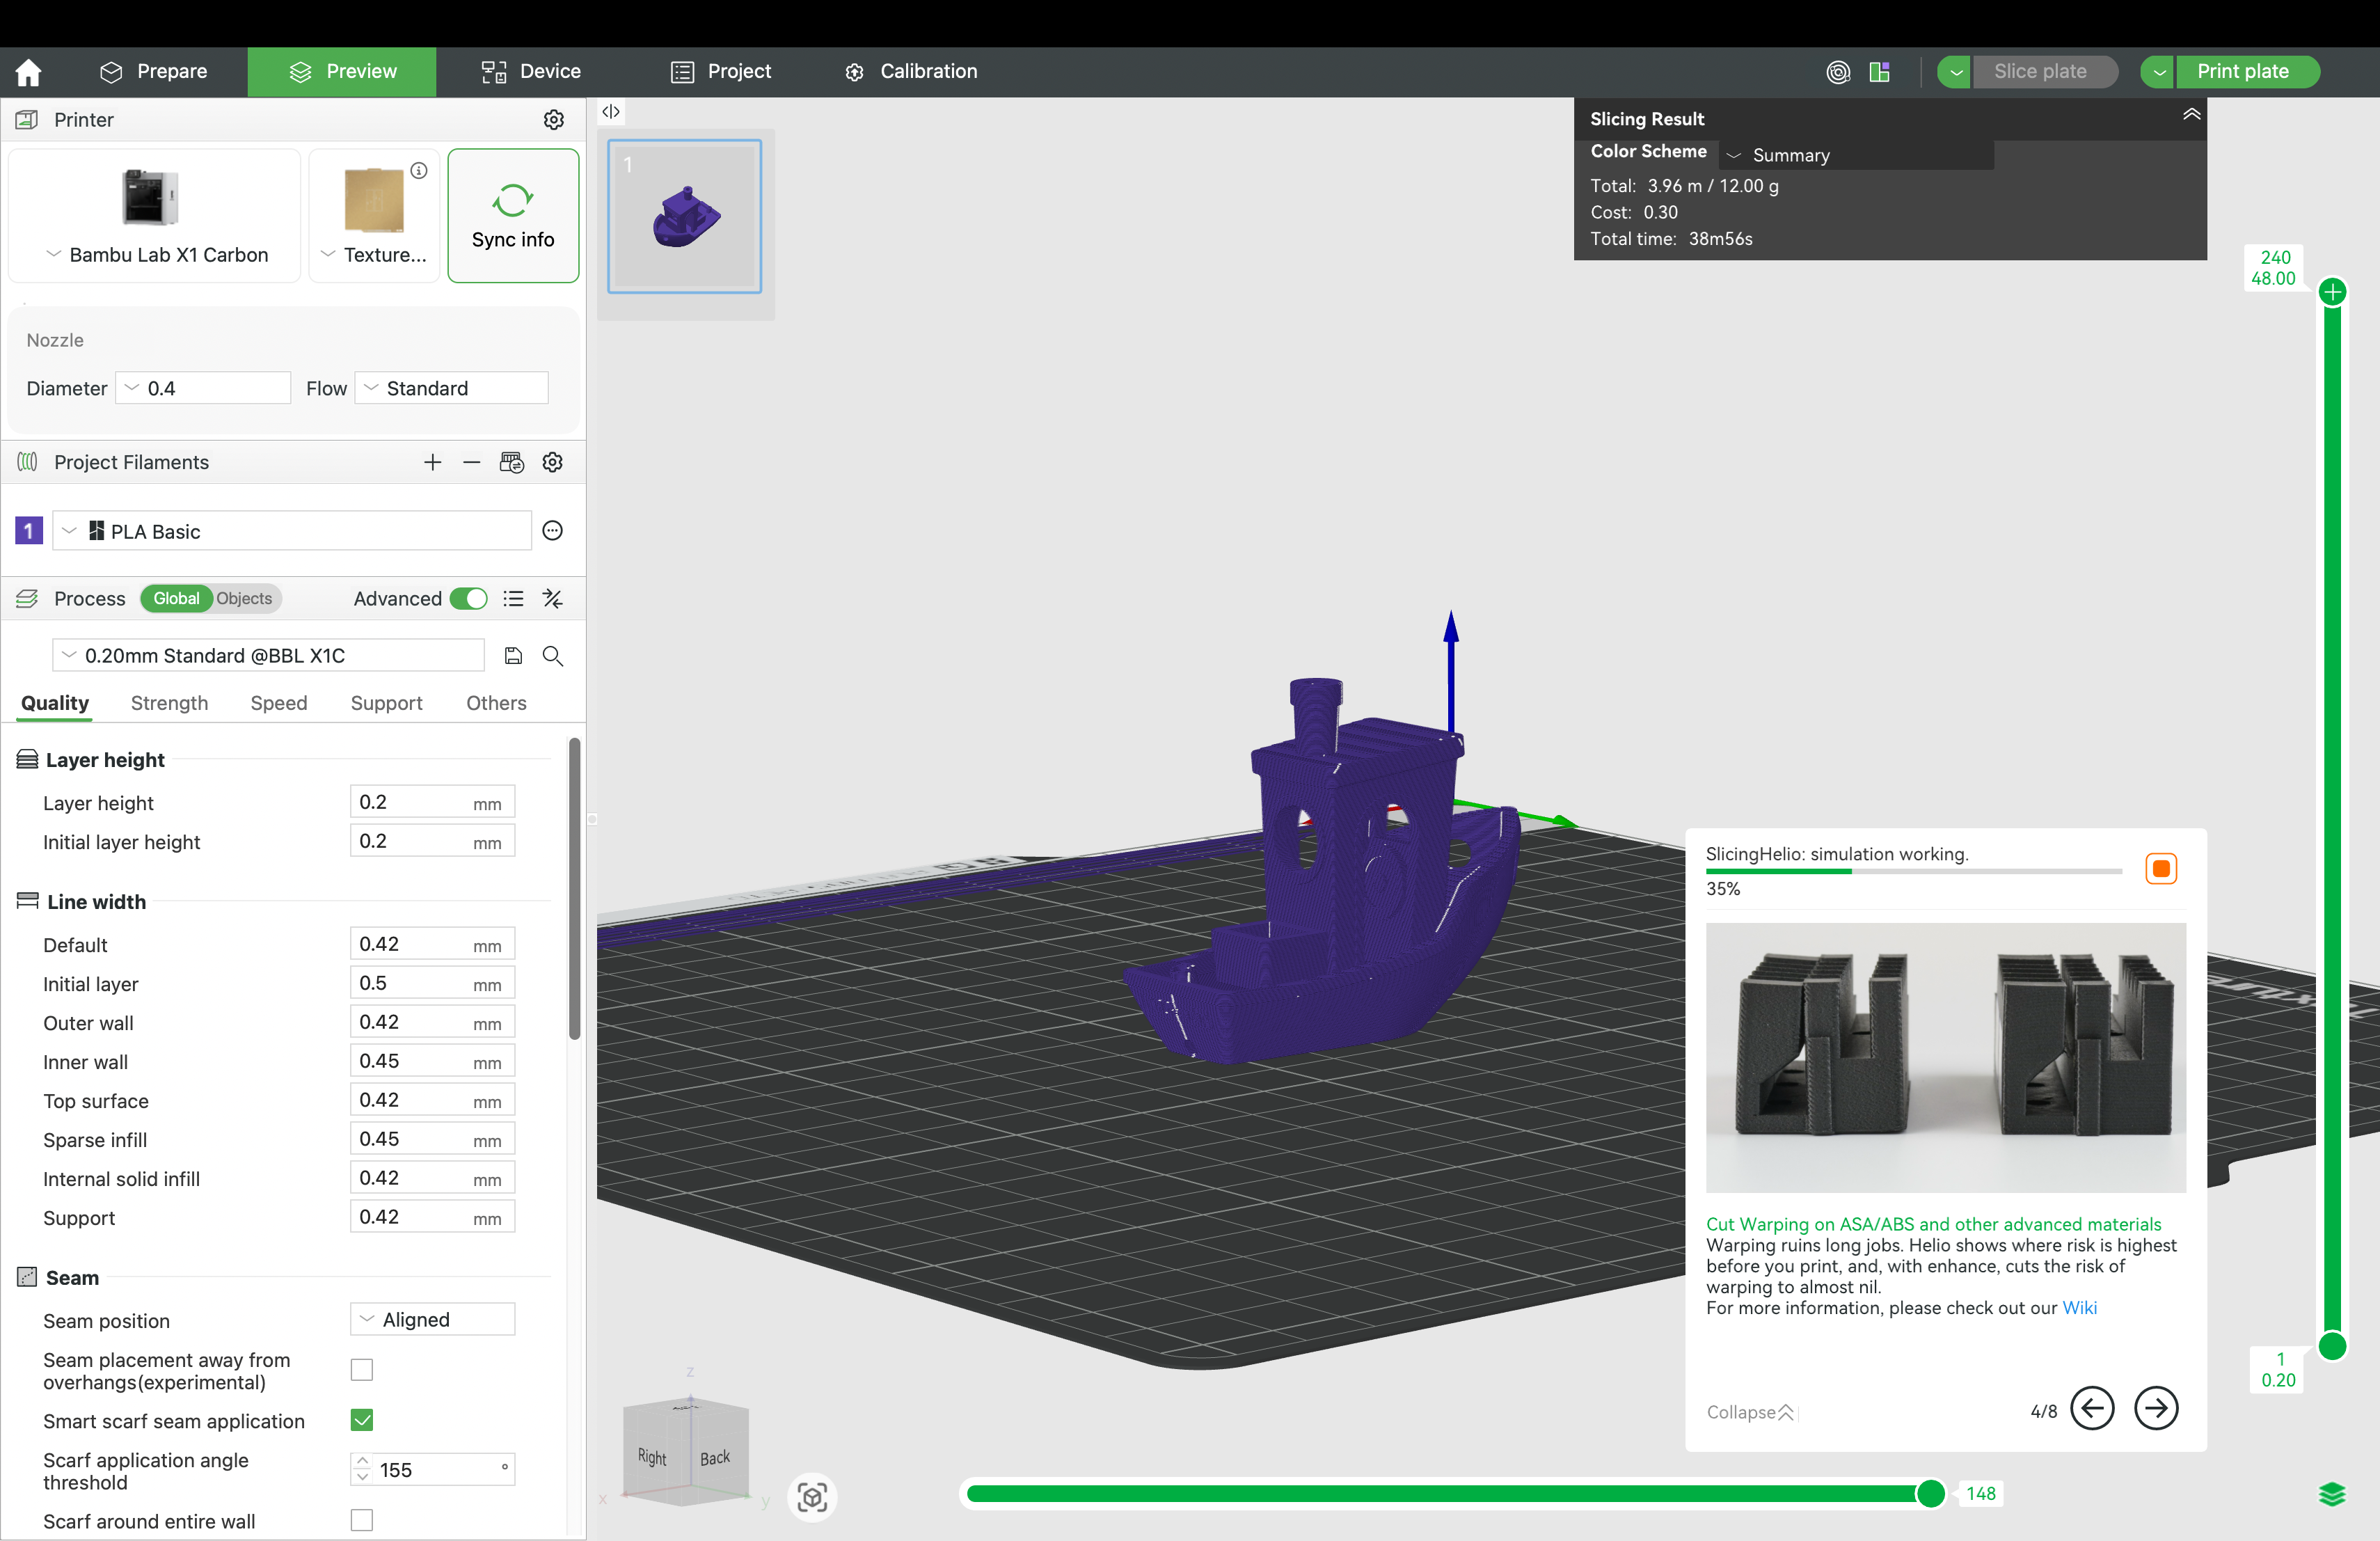
5. Review the summary window and TQI overlay — see below for how to read them
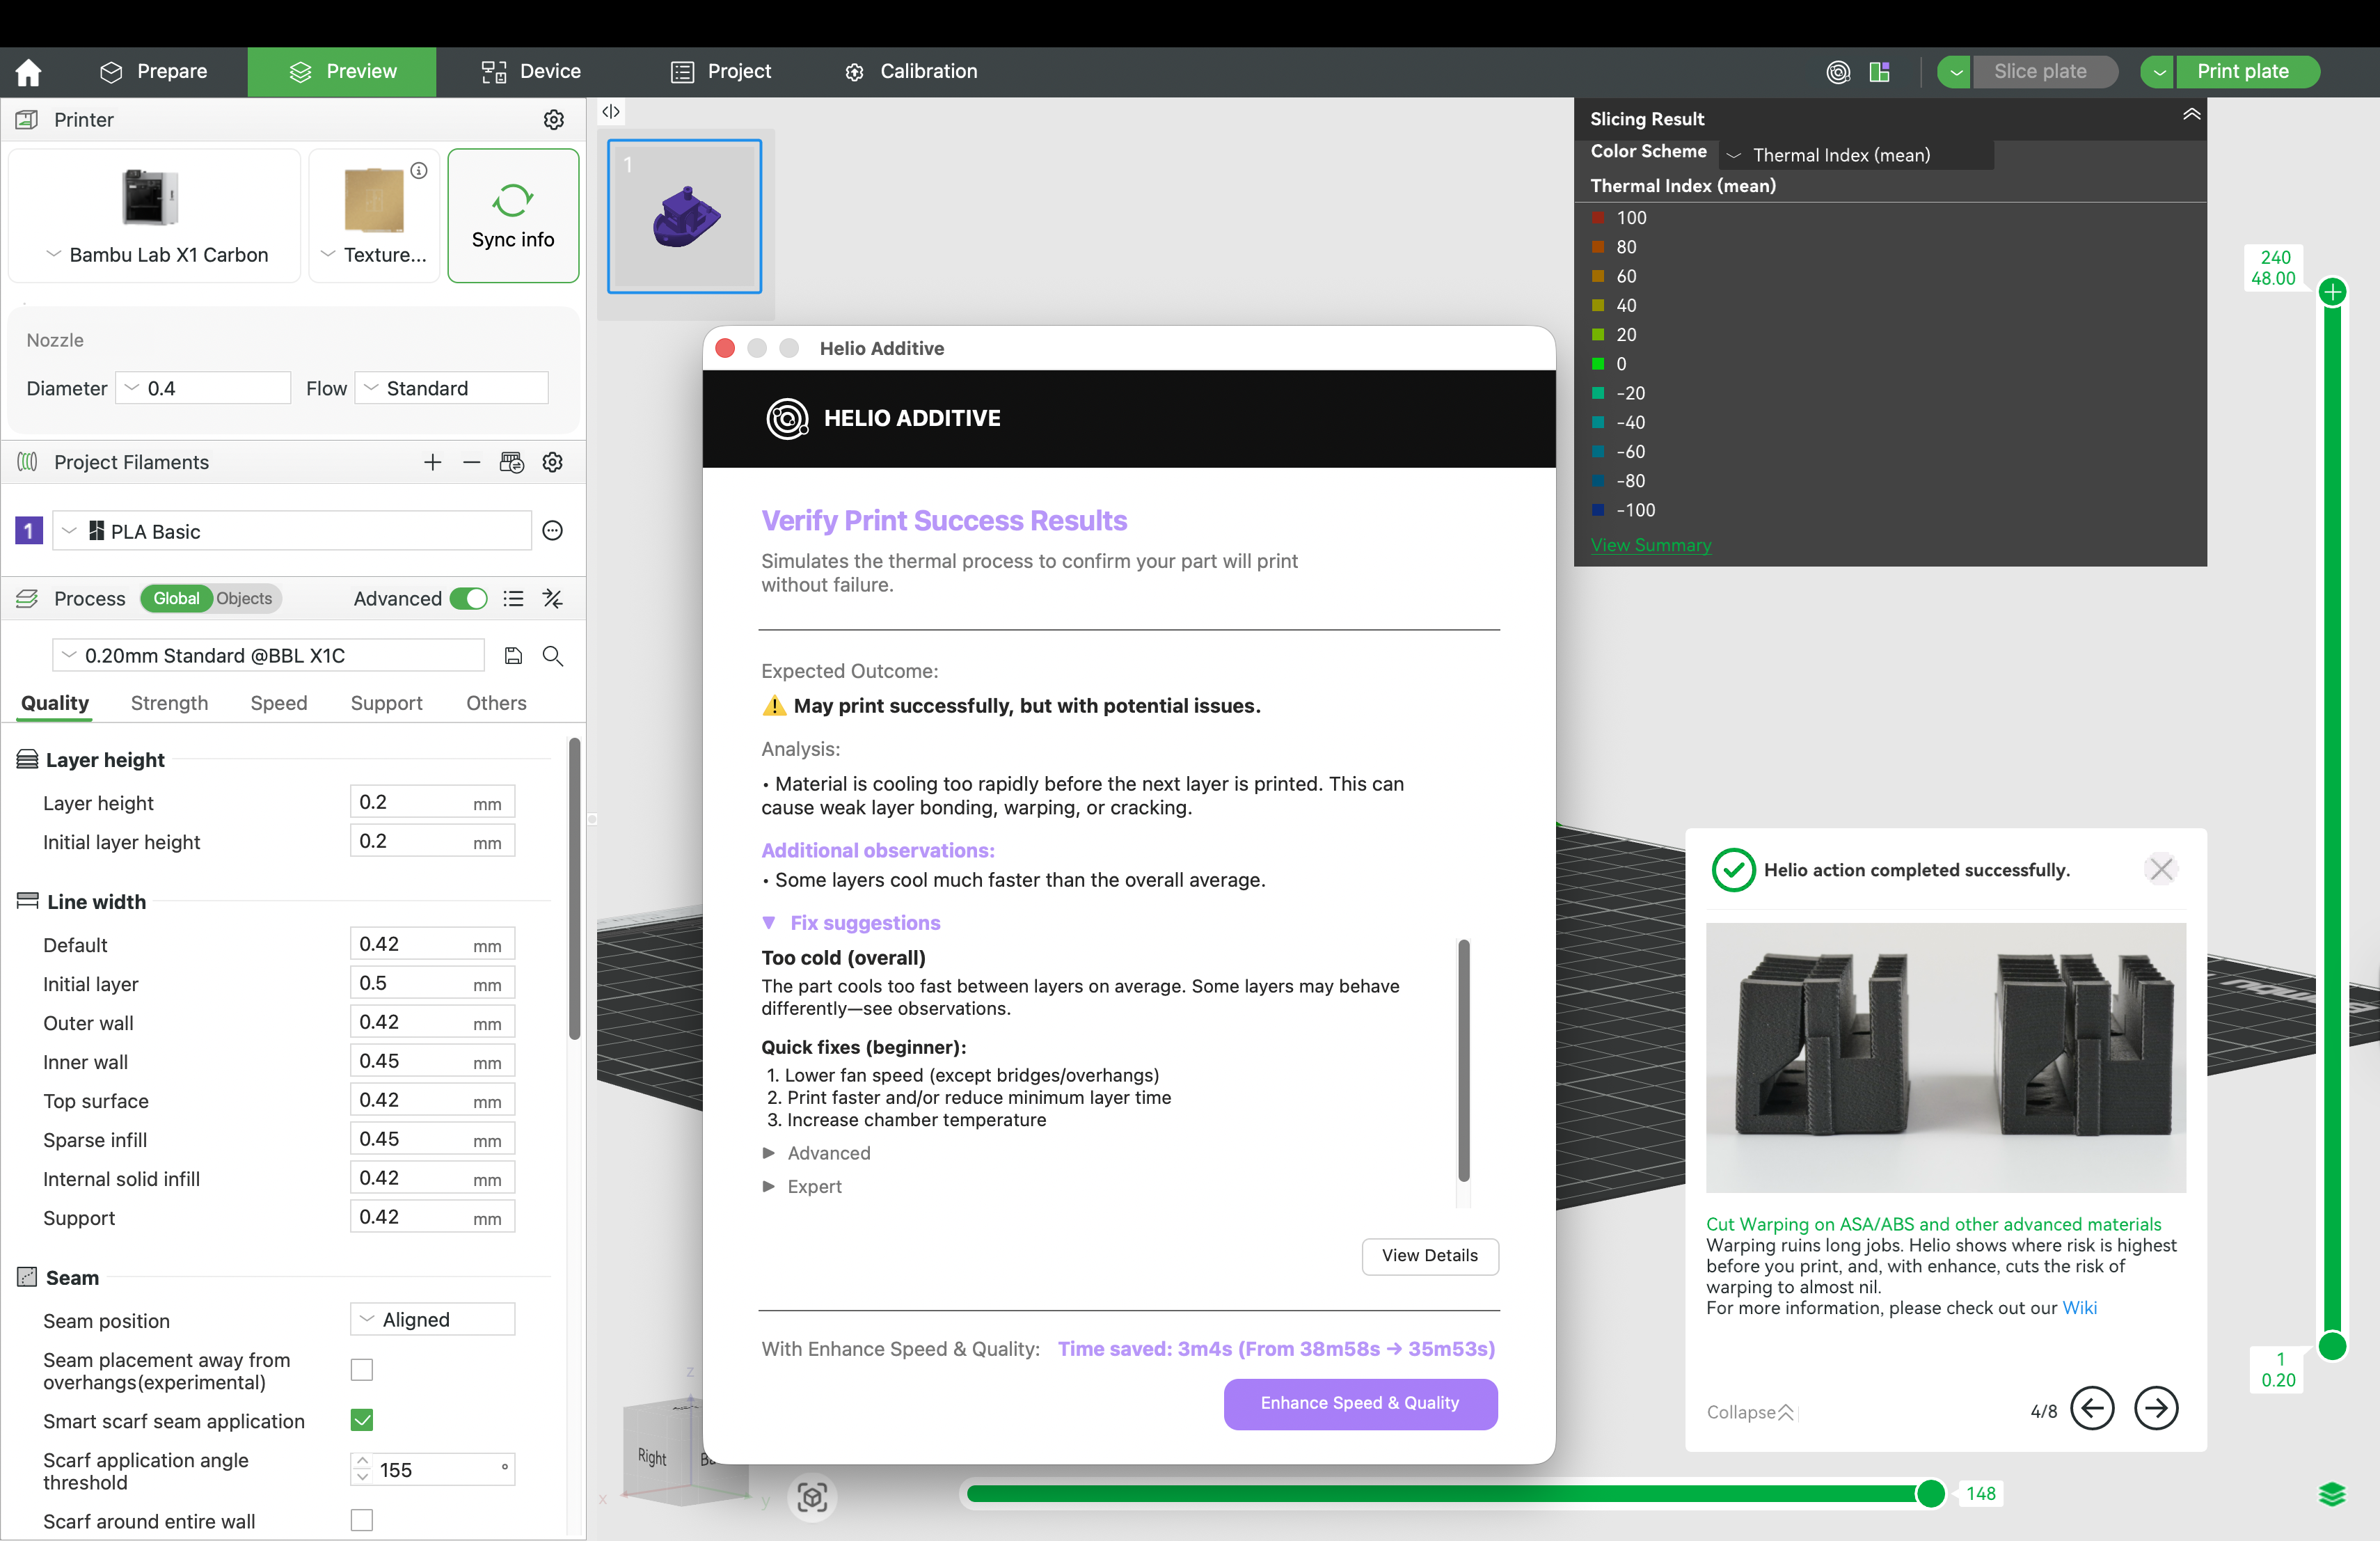
¶ 📋 The Summary Window
The summary window gives you an at-a-glance verdict on your print, broken down into five sections:
¶ 🚀 Expected Outcome
The top of the window shows one of three verdicts:
| Verdict | Meaning |
|---|---|
| ✅ Will print successfully | Thermal conditions are balanced and within safe limits |
| ⚠️ May print successfully, but with potential issues | Print will likely complete but some regions are at risk |
| ❌ Will likely fail to print | Heat is building up or dissipating too fast — intervention recommended |
Example summary and fix suggestions for a cold print
¶ 🔍 Analysis
A plain-language explanation of the primary thermal issue detected — for example, “Material is cooling too rapidly before the next layer is printed” or “Heat is building up faster than it can dissipate.”
¶ 💡 Additional Observations
Specific layer-level findings flagged alongside the overall verdict — for example:
- Some layers are severely overcooled and may fail
- Some layers cool much faster than the overall average
- Some layers are severely overheated and may fail
ℹ️ These are worth noting even on a ✅ verdict — a passing overall score can
still contain localised problem regions.
¶ 🎯 Fix Suggestions
Appears when issues are detected. Broken into two levels:
Quick fixes (beginner) — actionable slicer settings you can change immediately:
For cold prints:
- Aux fan: leave OFF most of the time; enable only for overhang corners that need extra cooling
- Lower fan speed (except bridges/overhangs)
- Print faster and/or reduce minimum layer time
- Increase chamber temperature
For hot prints:
- Increase fan speed (especially bridges/overhangs)
- Print slower and/or increase minimum layer time
Advanced — for users who have already calibrated their setup:
- If you have calibrated max volumetric speed, increase flow to that limit
ℹ️ Fix suggestions are a starting point for manual tuning. To apply speed adjustments automatically, click Enhance Speed & Quality at the bottom of the window.
¶ ⏱️ Time Estimate
The bottom of the summary window shows a projected time saving if you run Enhance for example, “Time saved: 14m52s (From 57m25s → 42m32s)”
⚠️ This is an estimate based on available speed headroom in the original G-code.
Actual time saved after Enhance may differ depending on your optimisation mode
and any speed limits you have set.
¶ 🗺️ The TQI Overlay
After closing the summary window/clicking view details, review the TQI colour map of your model in Bambu Studio. This shows the simulated thermal conditions of every region at the layer/ road level:
| Colour | TQI | Meaning |
|---|---|---|
| 🟢 Green | ~0 | Ideal bonding conditions |
| 🔵 Blue | Below 0 | Too cold — risk of weak bonding or warping |
| 🔴 Red | Above 0 | Too hot — risk of sagging or deformation |
Click any layer in the layer slider to inspect TQI scores segment by segment.
ℹ️ A TQI of -50 corresponds to approximately a 50% drop in tensile strength.
Aim to keep most regions at or near 0.
ℹ️ The TQI overlay shows your print before any Enhance has been applied.
After running Enhance, a new overlay is generated reflecting the optimised speeds.
¶ 🔁 Iterating on Your Results
Assess is designed to be run more than once. After reviewing your fix suggestions:
1. Apply the recommended in Bambu Studio — for example, lower your fan speed,
increase print speed, or adjust chamber temperature
2. Re-slice and run Assess again to see how the change affects your thermal results
3. Repeat until your TQI is in an acceptable range, then print
This manual iteration workflow is ideal if you want full control over your slicer settings or are curious about how different parameters affect your print’s thermal performance. Each re-run gives you a clearer picture of how your changes translate into real thermal outcomes, building intuition over time.
ℹ️ Want Helio to do this automatically?
Click Enhance Speed & Quality at the bottom of the summary window to skip manual iteration and let Enhance find the optimal speeds for your print in one run.
Note that Enhance currently only adjusts print speeds. To enable/diable more optimisation parameters like fan speed and nozzle temperature, manage this in your account. See how to here
¶ 📬 Need Help Interpreting Your Results?
- Fixing cold prints: Step-by-step guide
- Debugging flowchart: Print Debugging Flowchart
- Discord: discord.gg/EjQXDJP9kS
- Email: support@helioadditive.com