¶ ⚠️ Critical Warning
Helio Optimisation requires your printer to be in good working condition:
- Printer must be well-maintained, not modified (e.g., no AMS Riser or top glass removed), and properly calibrated.
- Build plate must be clean (free of oils, dust, residue). Use the correct build plate for the material. The Bambu PEI plate works for most materials; PC/PA typically require glue.
- Filament must be dry — moisture causes extrusion issues and weak bonding.
- Disable any feature that introduces delays to layer time (e.g., time-lapse, pauses) — otherwise optimised G-code will be invalid.
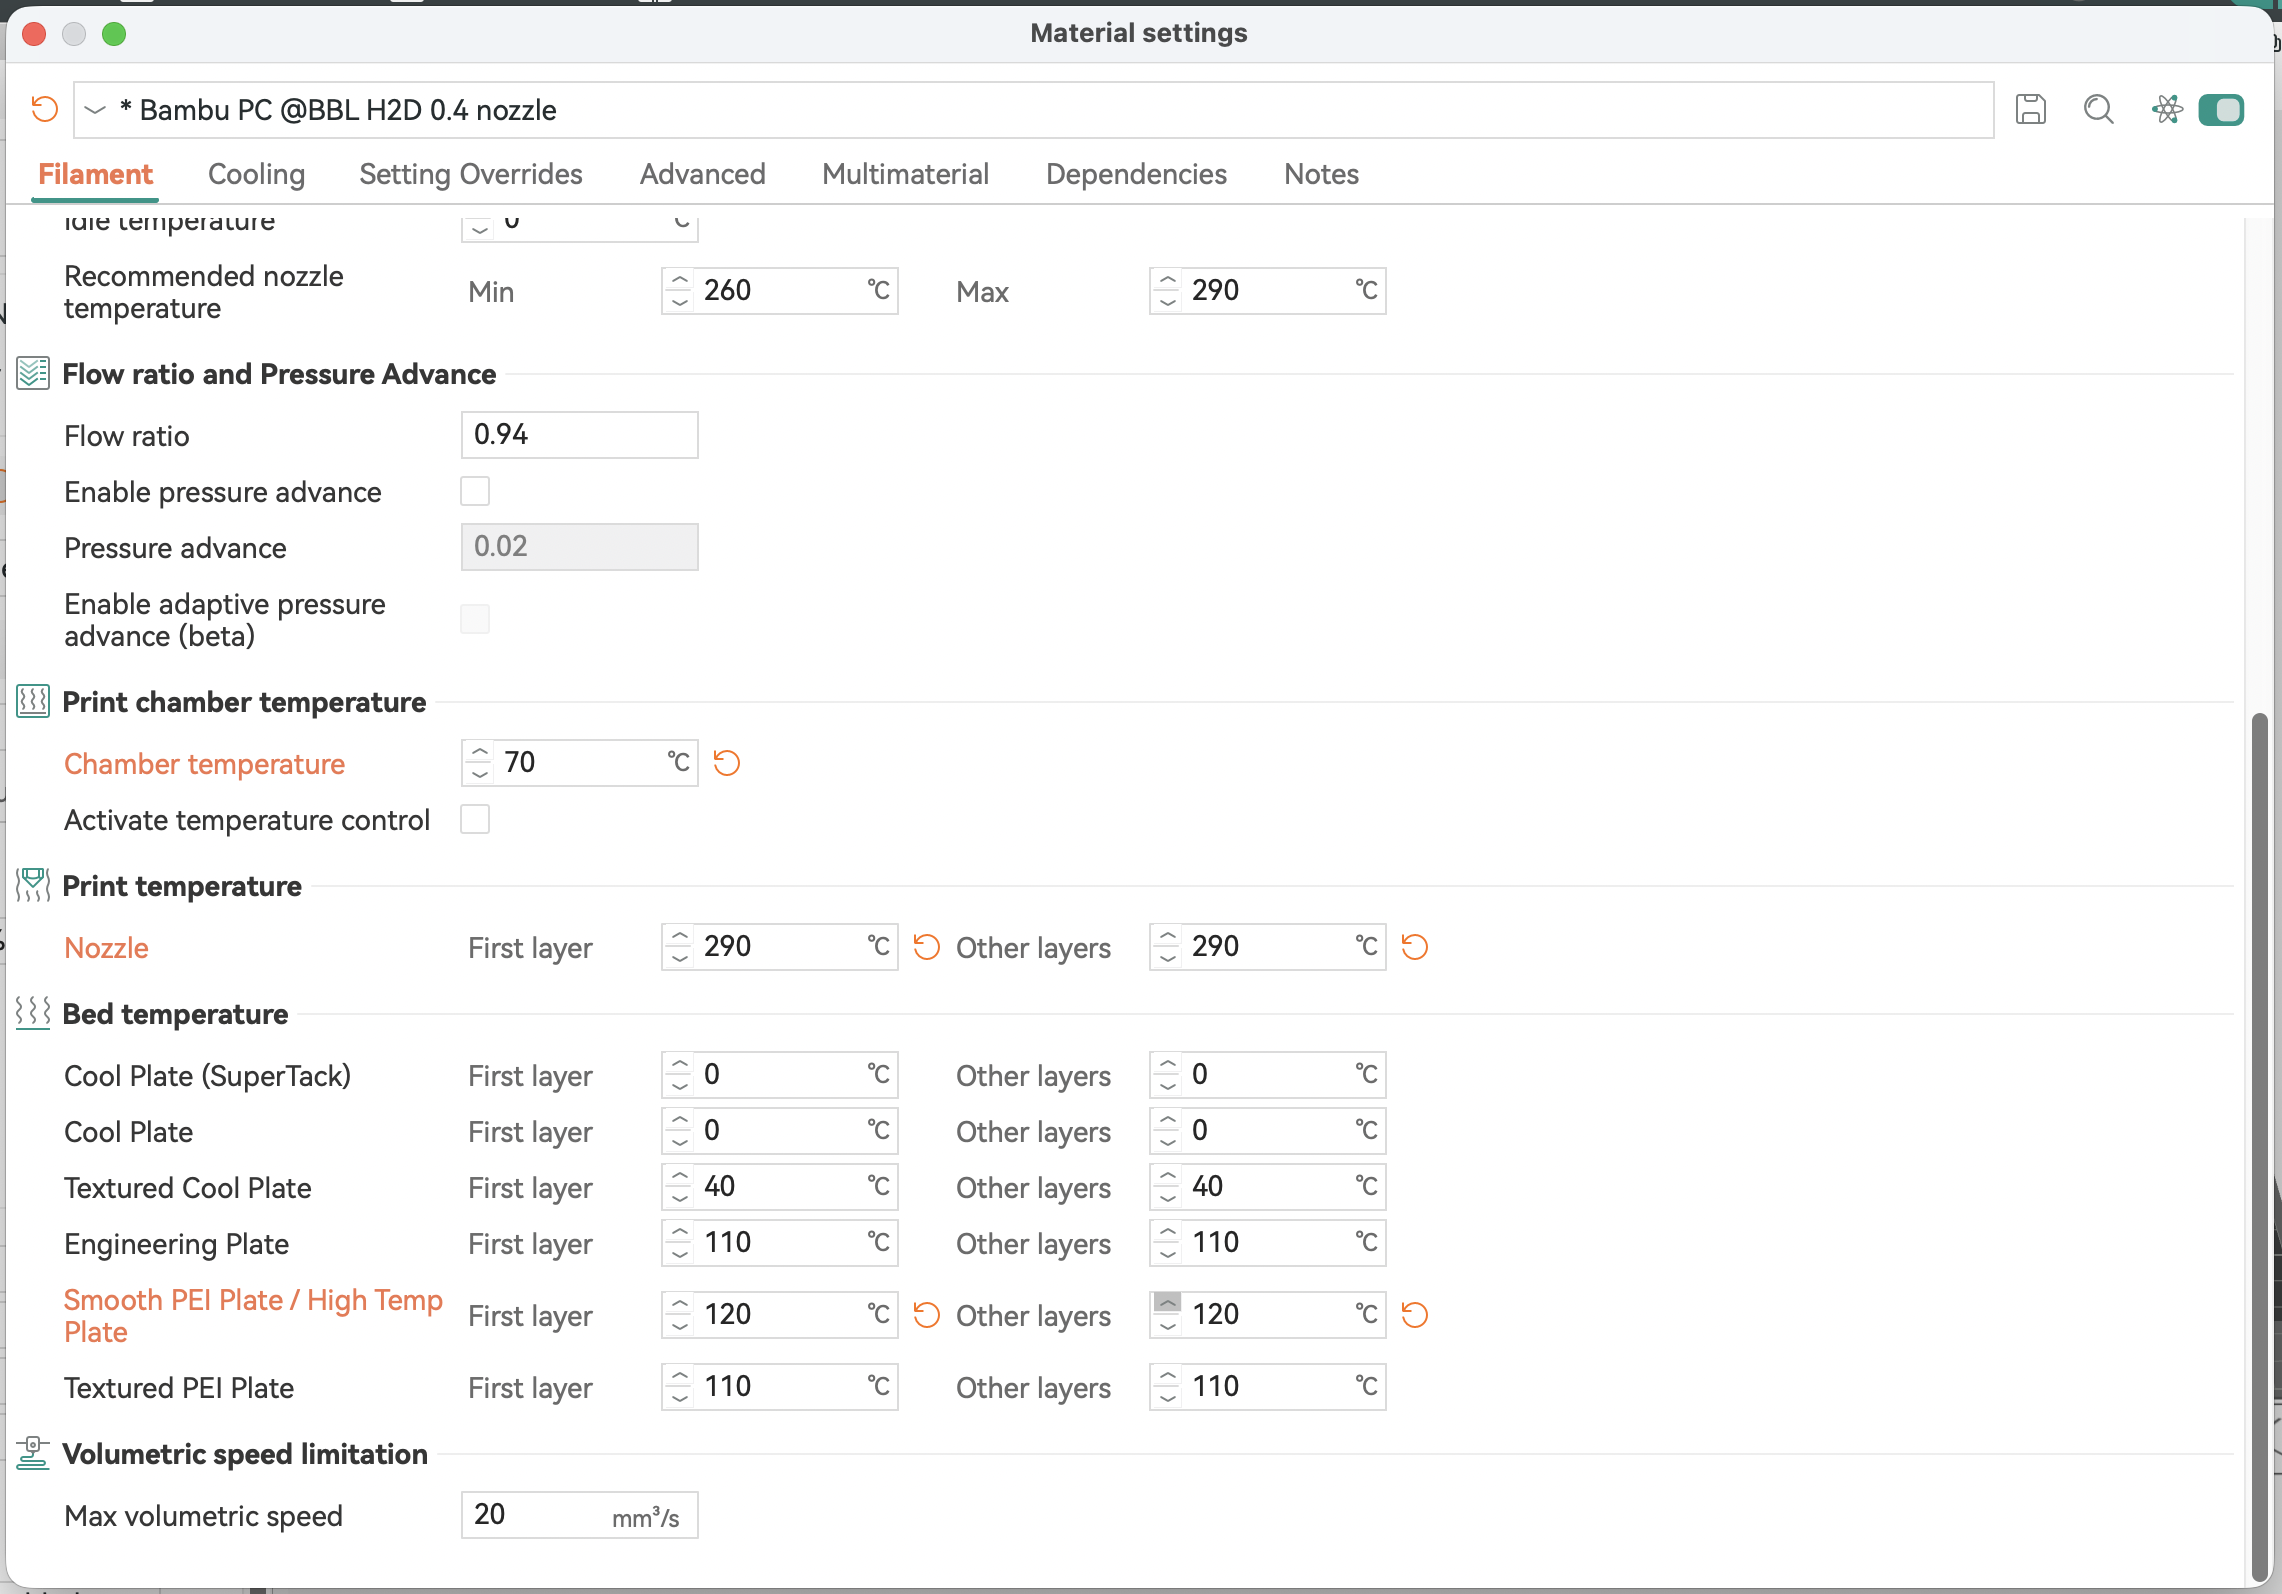
- Review the G-code in the preview and confirm changes before printing. Helio only adjusts your print speeds. Your chamber, nozzle, and bed temps are set in your filament settings.
- Enhance targets strength and reduced warping, which may trade off some aesthetics. You can balance this via suggestions in this manual.
¶ 📖 User Manual — Helio Enhance in Orca Slicer
New here? The Quick Start Guide is a 60-second walk-through. This page is the authoritative reference.
¶ Table of Contents
- What Helio Does
- Quick Start Essentials (with WHY)
- Modes of Operation
- Key Slicing Parameters (Pre-optimisation)
- Material-Specific Guidance
- Performance, Scope & Limits
- Best Practices
- When Not to Use Optimisation
- Troubleshooting
- Glossary
¶ What Helio Does
Helio modifies your sliced G-code using physics-based thermal simulation:
- Simulates according to your filament profile (nozzle, bed, chamber, cooling).
- Adjusts layer time to keep voxels in the material’s bonding window for stronger parts.
- Changes speed layer-by-layer to reduce residual stresses and warping.
- Starts optimisation from Layer 2 (first layer is left for adhesion tuning).
- Focuses on interlayer bonding strength; aesthetics can be balanced separately.
- Does not alter nozzle/bed/chamber temperatures, extrusion width/height, or fan profiles; those remain in your slicer.
¶ Quick Start Essentials (with WHY)
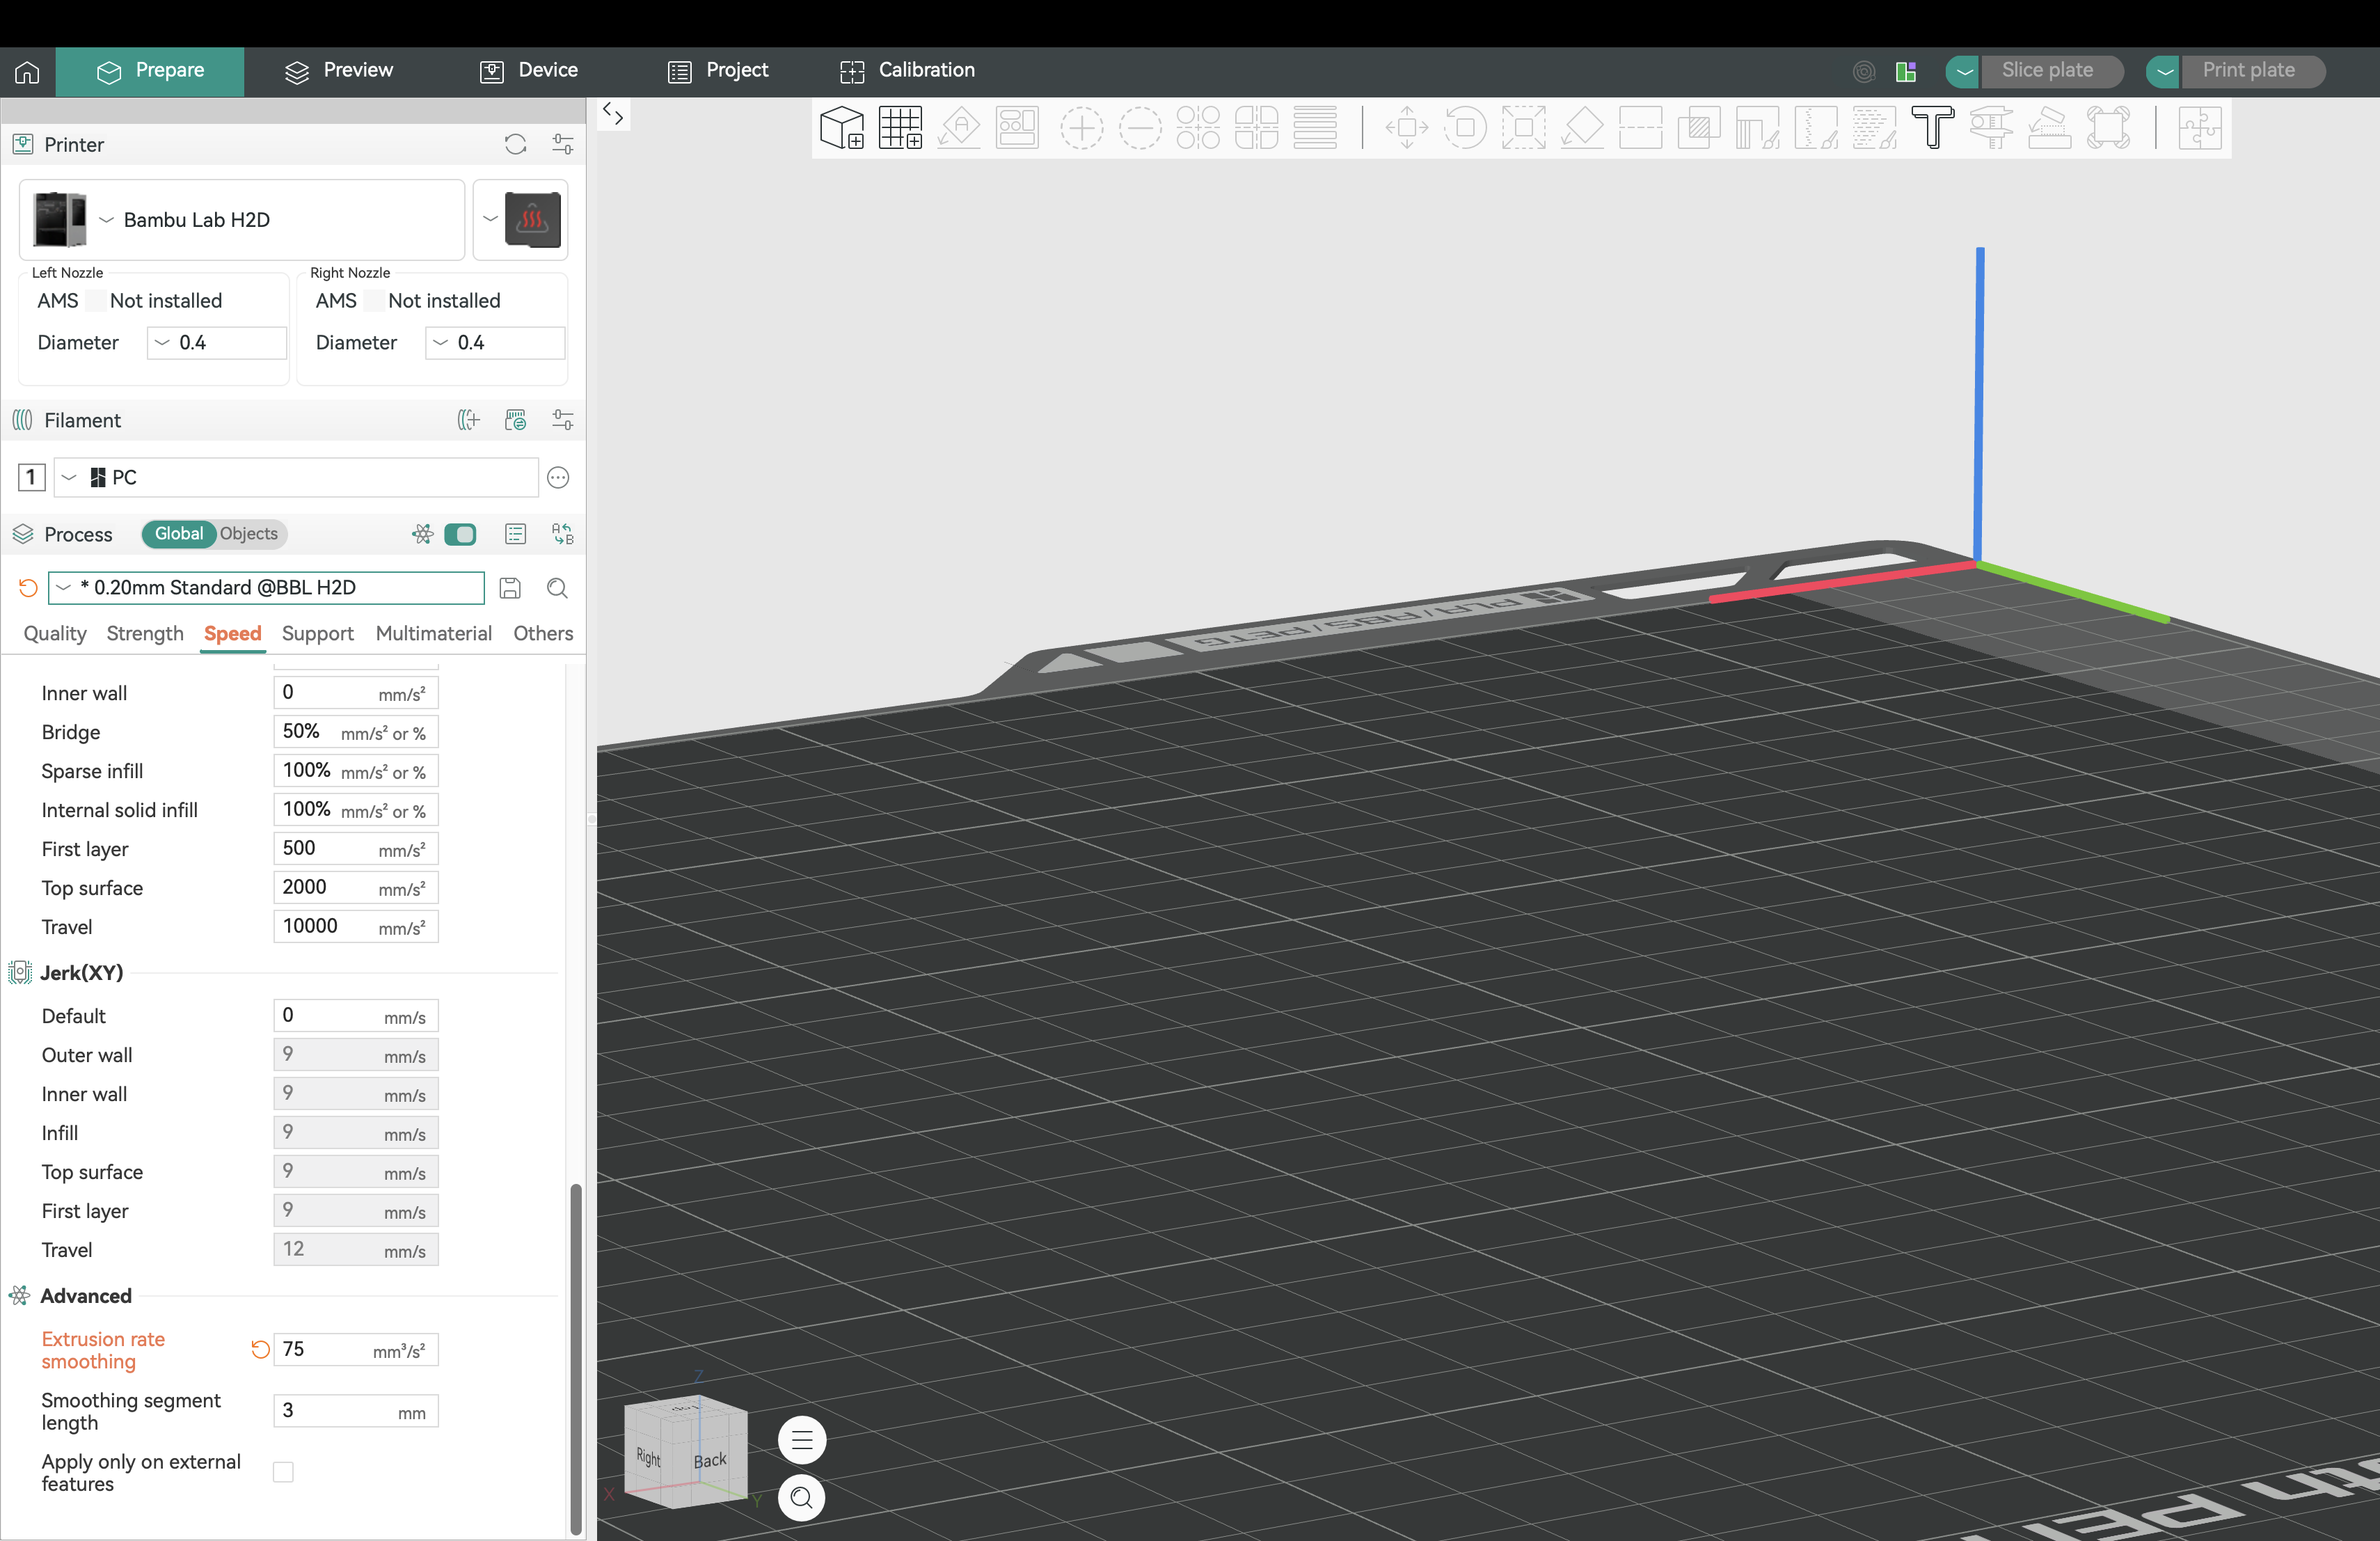
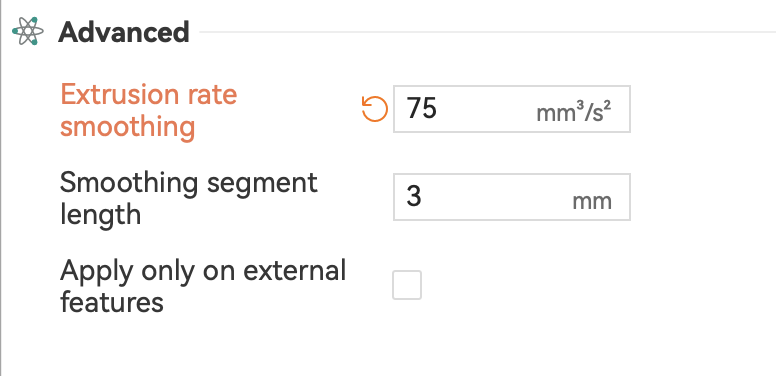
1. Set Extrusion Rate Smoothing = 75
(Speed → Advanced → Extrusion rate smoothing)
A lower value produces smoother, more gradual speed transitions when Helio varies speeds across the print.
Why: Helio optimises speeds throughout the entire print path based on thermal physics. These speed variations create abrupt volumetric flow changes that can cause pressure artifacts at feature boundaries. ERS limits how fast flow rate is allowed to change, spreading each transition over a longer distance and giving the extruder time to stabilise.
Also set: Fan speedup time = 2s (Cooling → Fan → Fan speedup time)
2. Leave bridges & overhangs at defaults
Helio does not retune these. Keep the slicer defaults or your settings that are already known to work well.
Why: Bridges/overhangs are edge cases where pushing speed can collapse features. By leaving proven settings untouched, Helio can safely optimise global timing without risking these sensitive regions.
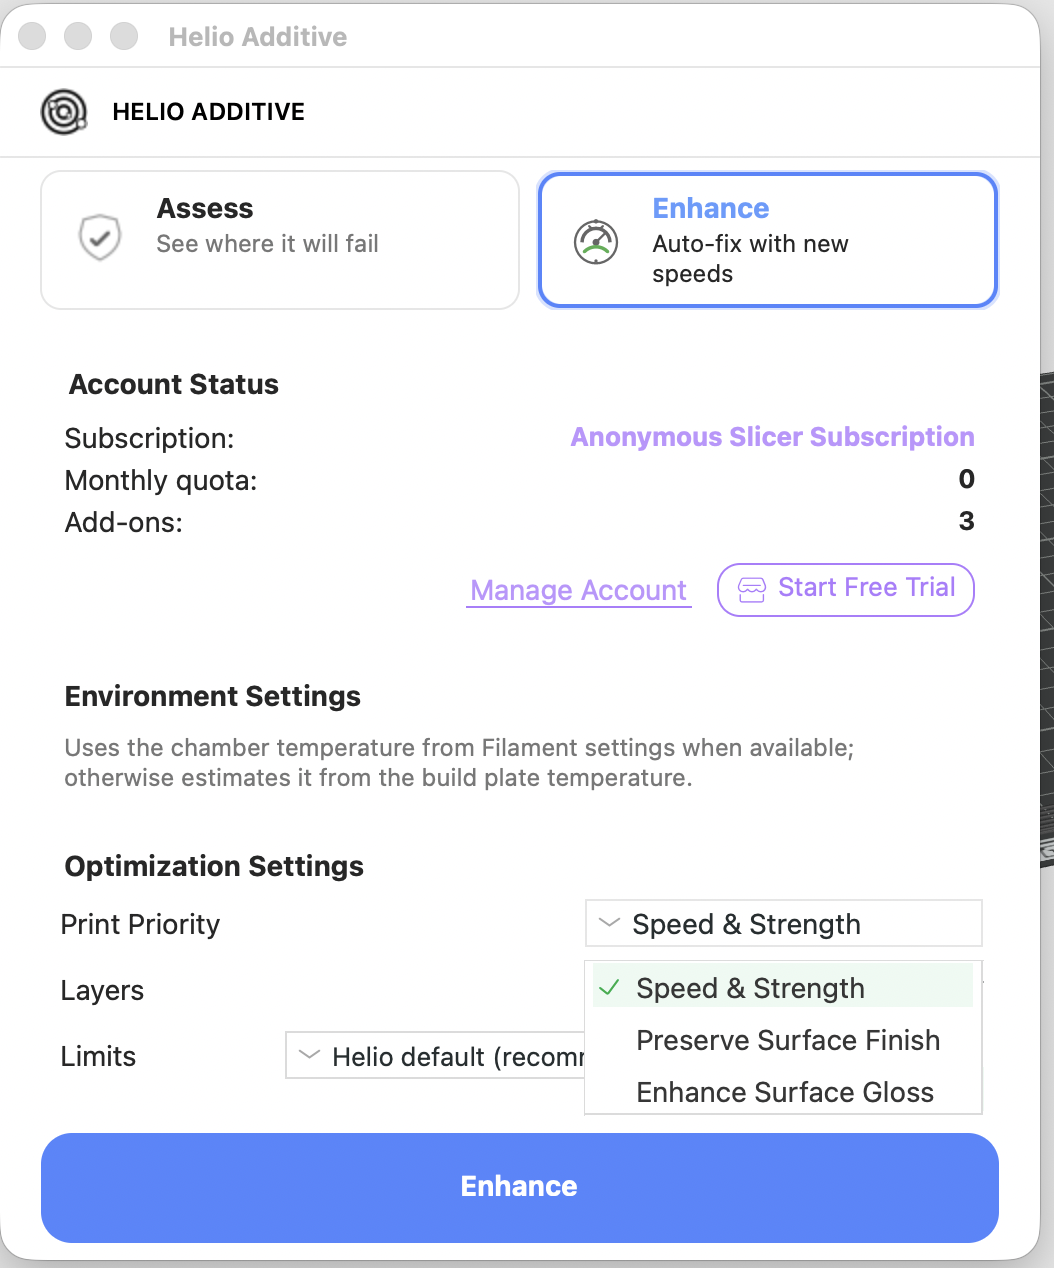
3. Slice → Helio Action → Enhance
Why: Enhance runs multiple simulations to find speeds that keep each layer in the bonding window while respecting your flow caps.
4. Print Priority
In the Helio dialog, set to:
- Speed & Strength — maximises layer bonding and mechanical strength
- Preserve Surface Finish — prioritises the original slicer-defined surface quality
- Enhance Surface Gloss — delivers the best visual quality (available for specific materials i.e PLA Silk+)
Why: Helio regulates extrusion temperature by adjusting print speed. Applying this control to outer walls can introduce small speed variations that affect surface appearance.
Use Preserve Surface Finish to keep a slicer-tuned finish, Enhance Surface Gloss to further improve visual appearance, or Speed & Strength to allow temperature-driven speed correction on the entire object for more uniform bonding.
5. Confirm and wait for Optimization to complete.
6. Review the summary & G-code in preview, check adjusted speeds, layer times, etc., and if happy, print.
Why: The preview lets you validate that speed ramps and layer-time changes align with your intent or prior experience before you commit material.
¶ Modes of Operation
Note: for sub 0.2 mm layer heigths & unsupported materials only slicer defaults mode is possible. In all modes you can optionally pick your print priority, limit optimisation to specific layers (e.g., focus only on chimneys, needle tips).
¶ Helio Default Mode (recommended)
- Balances bonding strength while squeezing speed where possible.
- Minimal user input.
¶ Slicer Default Mode
- You can override limits: max volumetric flow (mm³/s) and per-feature speed caps .
- Starts from the slicer’s own defaults (often conservative); adjust upward/downward as appropriate.
Use Slicer Default Mode if you:
- Know your filament’s real flow rate ceiling (e.g., from flow and temperature tower calibrations).
- Are using a high flow nozzle that can achieve higher flow rates than standard.
¶ Key Slicing Parameters (Pre-optimisation)
¶ Smooth Coefficient
Controls how smoothly speeds ramp when Helio changes speed.
Recommended: 0.2.
Why: Gentler ramps reduce ringing/overshoot when Helio varies speed to meet layer-time goals.
¶ Outer Wall First vs. Infill First
- Outer wall first → best aesthetics (crisper surfaces).
- Infill first → safer for extreme overhangs/bridges.
Why: Printing the outer wall first locks in the surface finish before internal heat affects the contour; printing infill first gives marginally more support/thermal mass for challenging spans.
¶ Cooling / Fans
Keep your known-good cooling profile. Helio doesn’t change fan curves.
For low-Tg (PLA/PETG), set Pre-start fan time = 2 s (Filament → Cooling).
Why: When Helio raises speed, segment times shrink. Pre-starting the fan ensures it reaches target RPM before delicate regions, avoiding under-cooling or temperature spikes.
¶ Special case: No controlled chamber (bed-only heating)
If your enclosure warms over time from the bed alone, treat each job as start-from-cold. Vent the enclosure between runs.
Why: Stable starting conditions make Helio’s thermal predictions more accurate and repeatable.
¶ Material-Specific Guidance
¶ Low-Tg materials (PLA, PETG)
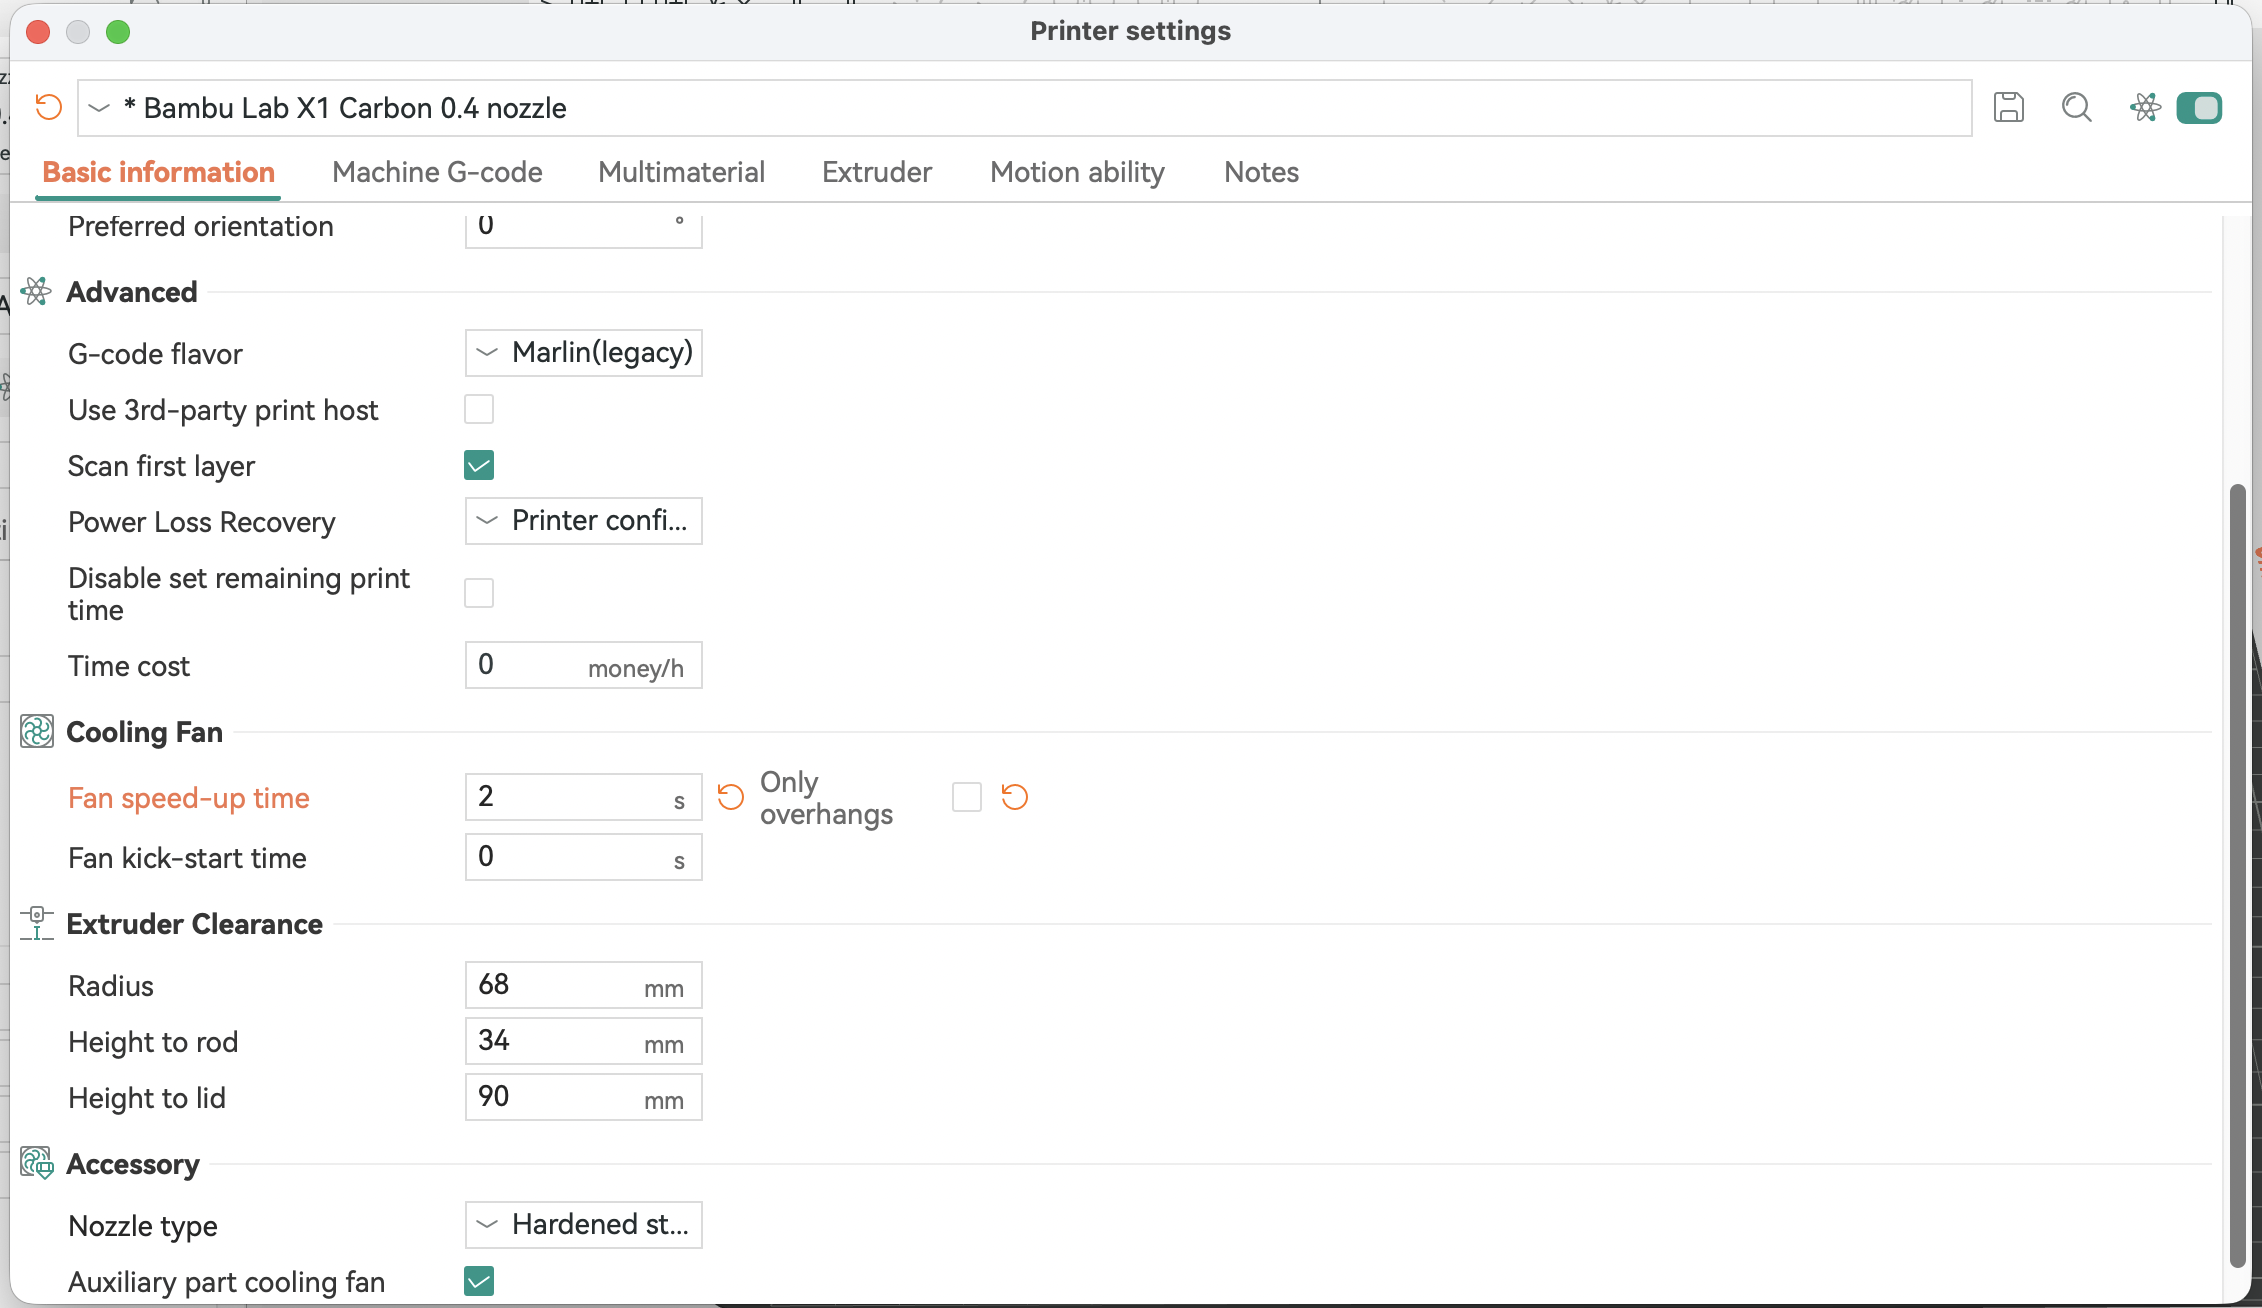
1. Printer Settings → Basic Information → Cooling Fan → Fan speed-up time = 2s
"Only overhangs" unchecked. Ensures the fan is spinning before delicate regions anywhere in the print, not just at overhangs.
Why: Helio may increase speed, reducing dwell time. Pre-spin avoids the fan lagging behind requested RPM, which could otherwise soften small features or round sharp corners.

2. Keep all other defaults (e.g. fan profile).
Why: Your slicer profile is already tuned to prevent PLA/PETG deforming on small features. Helio focuses on timing; it won’t change fan curves.
3. Slice → Helio → Enhance → Confirm → Print.
¶ High-Glass Transition Temperature (Tg) materials (PC, ABS/ASA, PA)
1. Bed temp = max recommended.
2. Chamber temp = max (if supported).
3. Nozzle temp = top of recommended range (or per temp tower).
Why: A warmer baseline widens the bonding window and reduces thermal gradients → less residual stress/warping. Helio manages speed/layer time; you set the thermal environment.
4. Slice → Helio → Enhance → Confirm → Print.
¶ Performance, Scope & Limits
¶ ⚡ Performance Notice
Enhance takes longer than assess because multiple simulations are run to find the best solution:
- If optimisation fails or you stop it, your quota is refunded.
- Rough guide: parts up to half build volume optimise in reasonable time.
- Larger parts → set slicer to minimum layer time and run assess only.
Known limitations
- Filament swaps and long pauses break thermal continuity.
- Timelapse photography interferes with layer timing.
- Non-standard slicer modifications are unsupported.
- Exotic materials may not match caps unless listed above (use Slicer Defaults Mode to set safe caps).
¶ Best Practices
- ✅ Clean the build plate before every print.
- ✅ Keep filament dry (dry box or pre-drying).
- ✅ Close enclosure for high-Tg materials.
- ✅ Check fans/filters for consistent airflow.
- ✅ Keep firmware & slicer updated.
- ✅ Always review the G-code preview before printing.
¶ When Not to Use Enhance
- Large, uniform parts where layer times are naturally stable.
- Full build-volume parts (consider assess only).
- Prints that must include long pauses or timelapse.
¶ Troubleshooting
- Use the Print Debugging Flowchart for step-by-step diagnosis.
- Check that the critical warning pre-conditions are satisfied.
- If speeds seem capped too low/high, verify the caps (Helio vs. Slicer Defaults) and your nozzle diameter/layer height assumptions.
- If outer surfaces look different than expected, try switching the print priority and/or switch to Outer wall first in slicer.
¶ Glossary
- Bonding window: Temperature/time range where adjacent layers fuse well.
- Layer time: Time between successive passes over a given region; shorter time generally means a warmer layer.
- Volumetric flow (mm³/s): Extrusion volume per second; determines the speed ceiling for a given nozzle/line geometry.
- Thermal continuity: Assumption that heating/cooling proceeds without unexpected delays (e.g., pauses, timelapse).
¶ ✔️ Reminder
Helio Enhance is designed to reduce warping and improve strength by managing layer time and thermal history. Aesthetics may change slightly; you can balance strength vs. finish using the options described above. Always review the G-code preview before printing.